
· By Mark Tindall
Replacing the Cedar Arbor
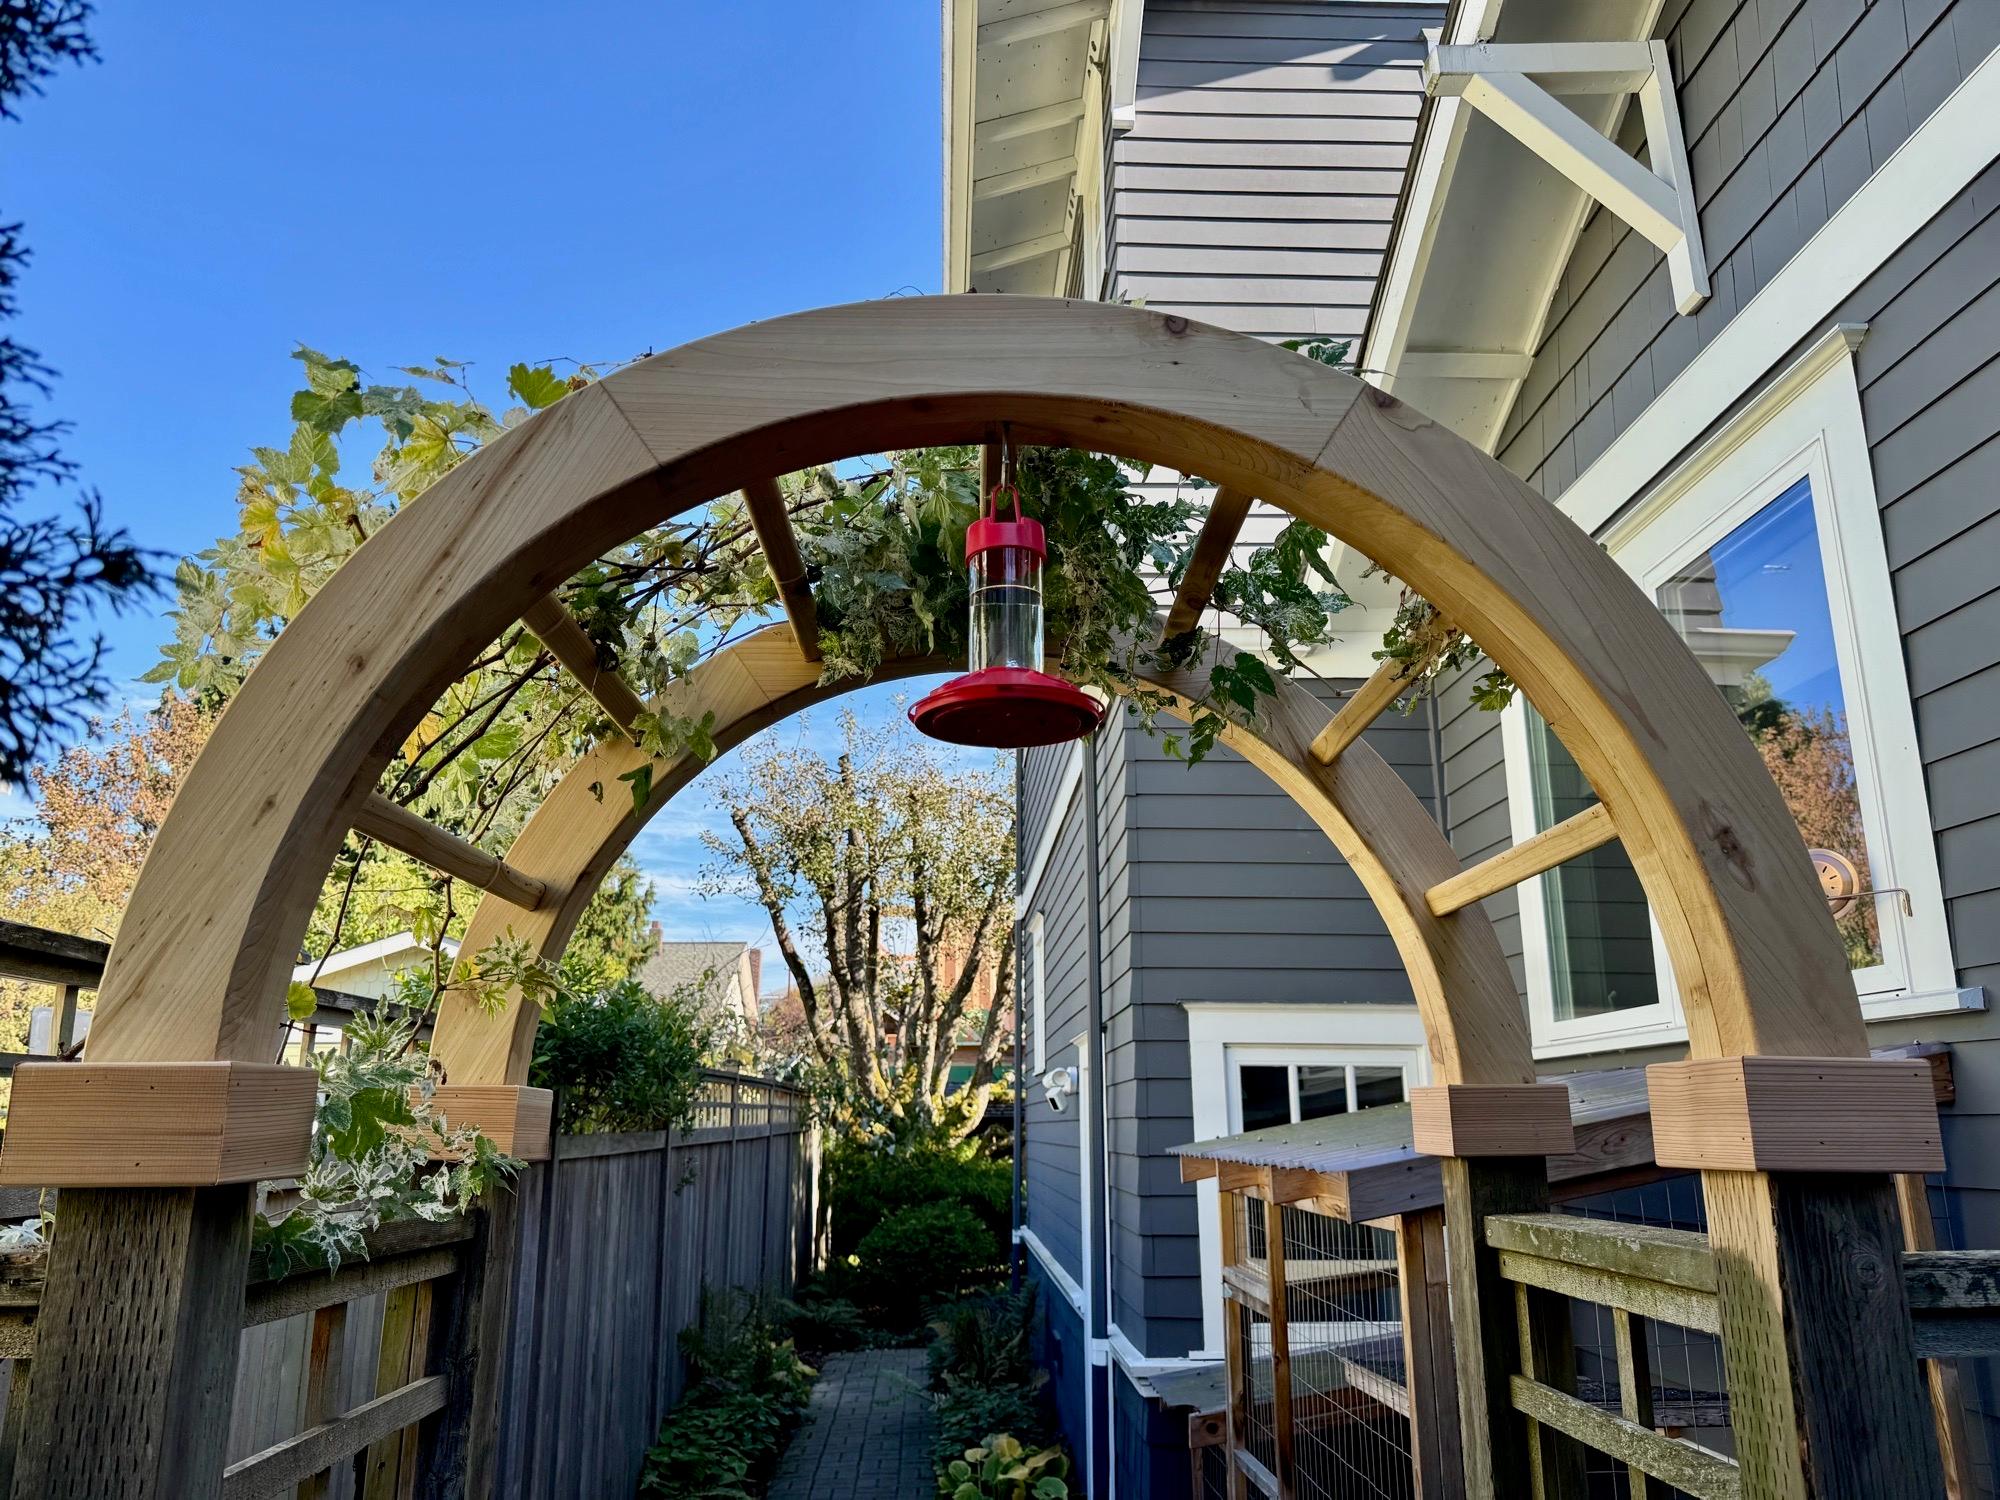
I had been staring at the rapidly deteriorating cedar arbor for years, noting the ever-expanding lines of moss growing out from the seams of the impressive arch the fence company had built long ago. Since our purchase of the house in the early 2000's, I knew there would come a day when it would need to be replaced, made only more conspicuous by the fact that it sits directly in front of our kitchen window. And there it remained staring me in the face daily for years.
I knew what it was going to take and it was a bit daunting. With a 4 ft. internal diameter for the half circle and at a full 4" thickness, this required a lot of western red cedar that would need to be laid up and glued together in order to provide enough lumber to cover the span. It's funny to think that producing an actual 4" thickness would be an issue, but in a world of dimensional lumber a 2" x 4" actually measures 1 ½" x 3 ½" as many know. Dropping by your local Home Depot was not an option for getting to the 4" net thickness. This was going to require some creativity with lumber sourcing.
Renewable Resources
Enter some friends with a bit of a cedar supply problem and a solution came into view. Their very Pacific Northwest property is chock full of Western Red Cedar which all sounds great until you contemplate a windstorm bringing down a massive 75 year old trunk on your roof. Hence the need for active forest management and a ready supply of cedar. You can read about my day milling cedar logs on Camano Island here.
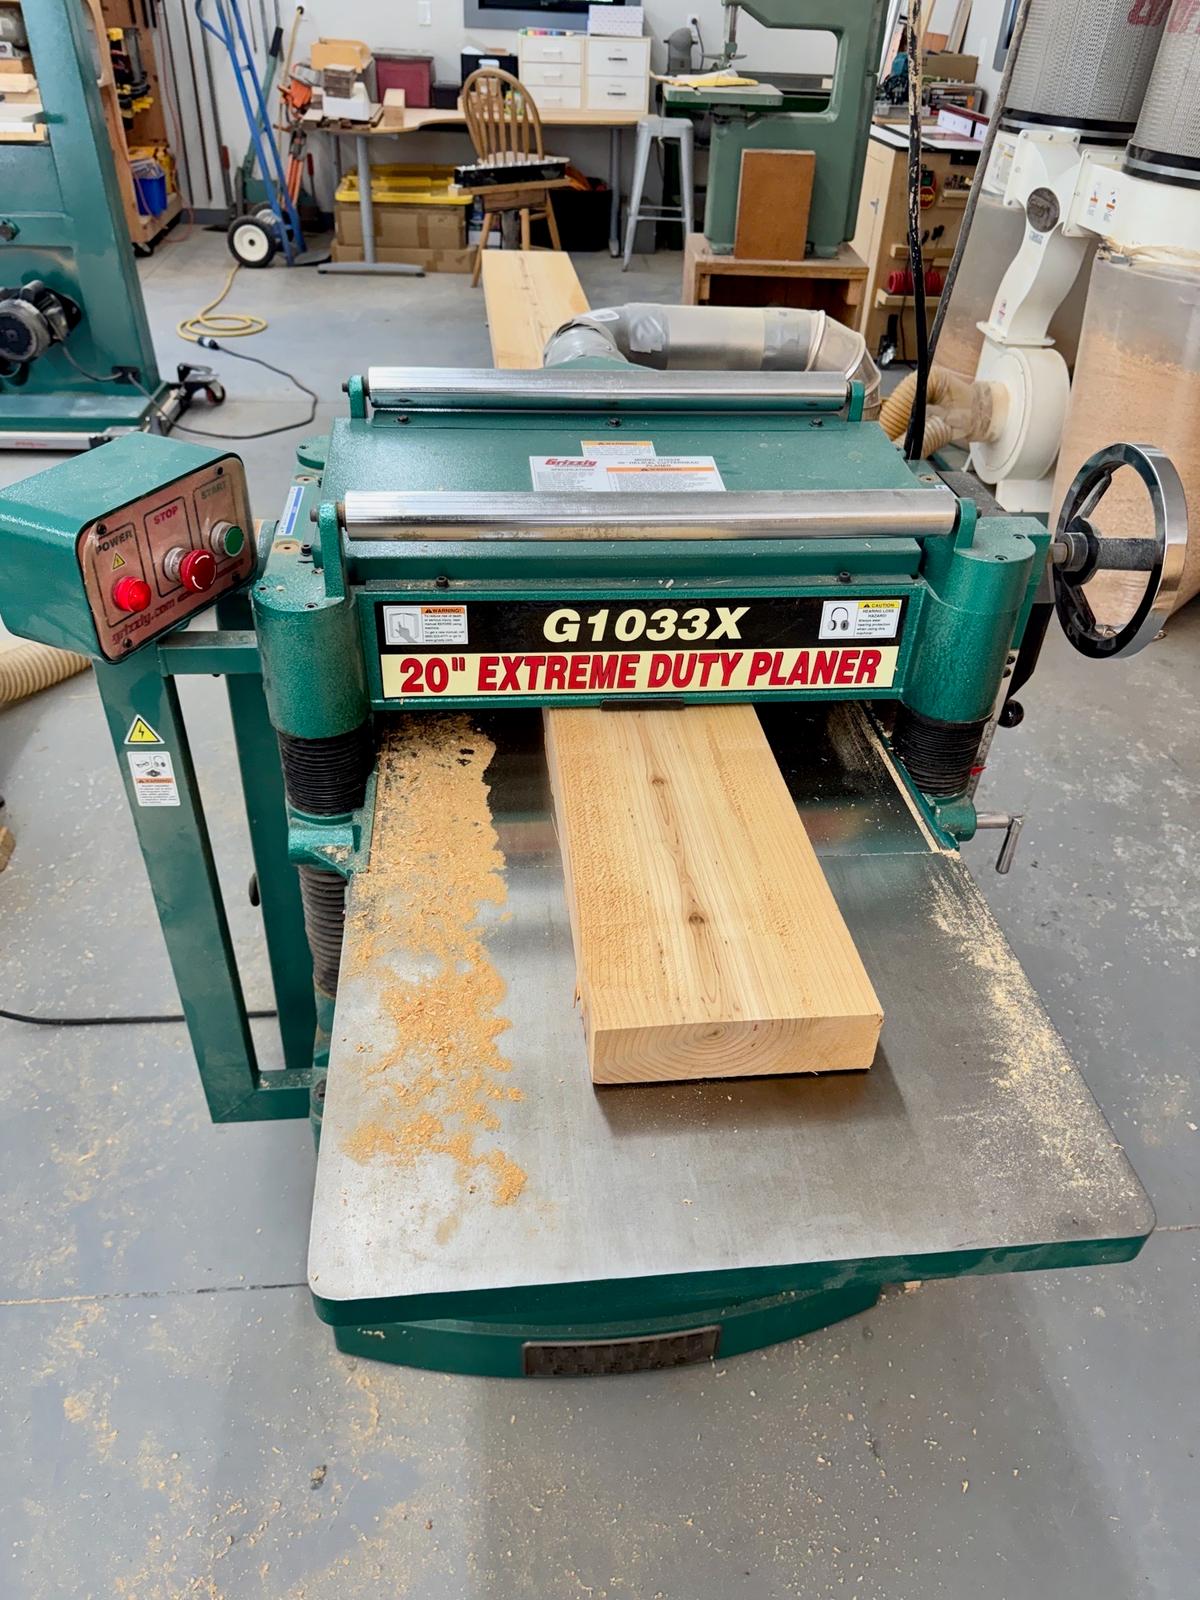
The end result was a sizable stack of 2 ½" rough sawn planks that were stickered, covered and air dried for about 5 months until they were dry enough to be milled. In September I returned to Camano Island and used their wonderful shop to mill the raw planks into the 2" finished dimension that I needed. After some sweat and a whole lot of sawdust I loaded up my truck with a treasure trove of gorgeous lumber and headed back to Seattle.
Solving The Puzzle
The first and easiest order of business was to create the initial template: a simple 48" internal/56" external half circle was laid out on a sheet of ¼" birch plywood and then cut out with a jigsaw and cleaned up with my orbital sander. This template would be the critical basis for much of the work to be done.
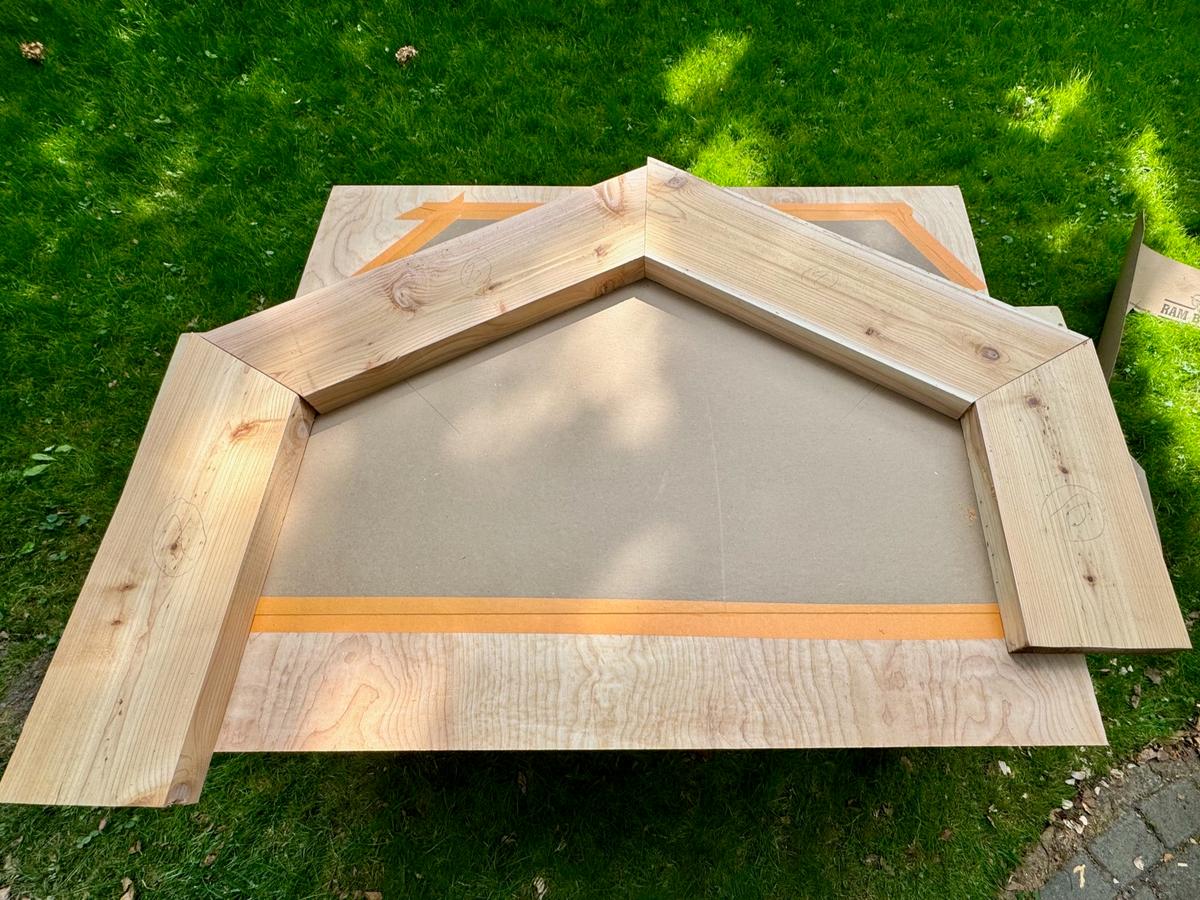
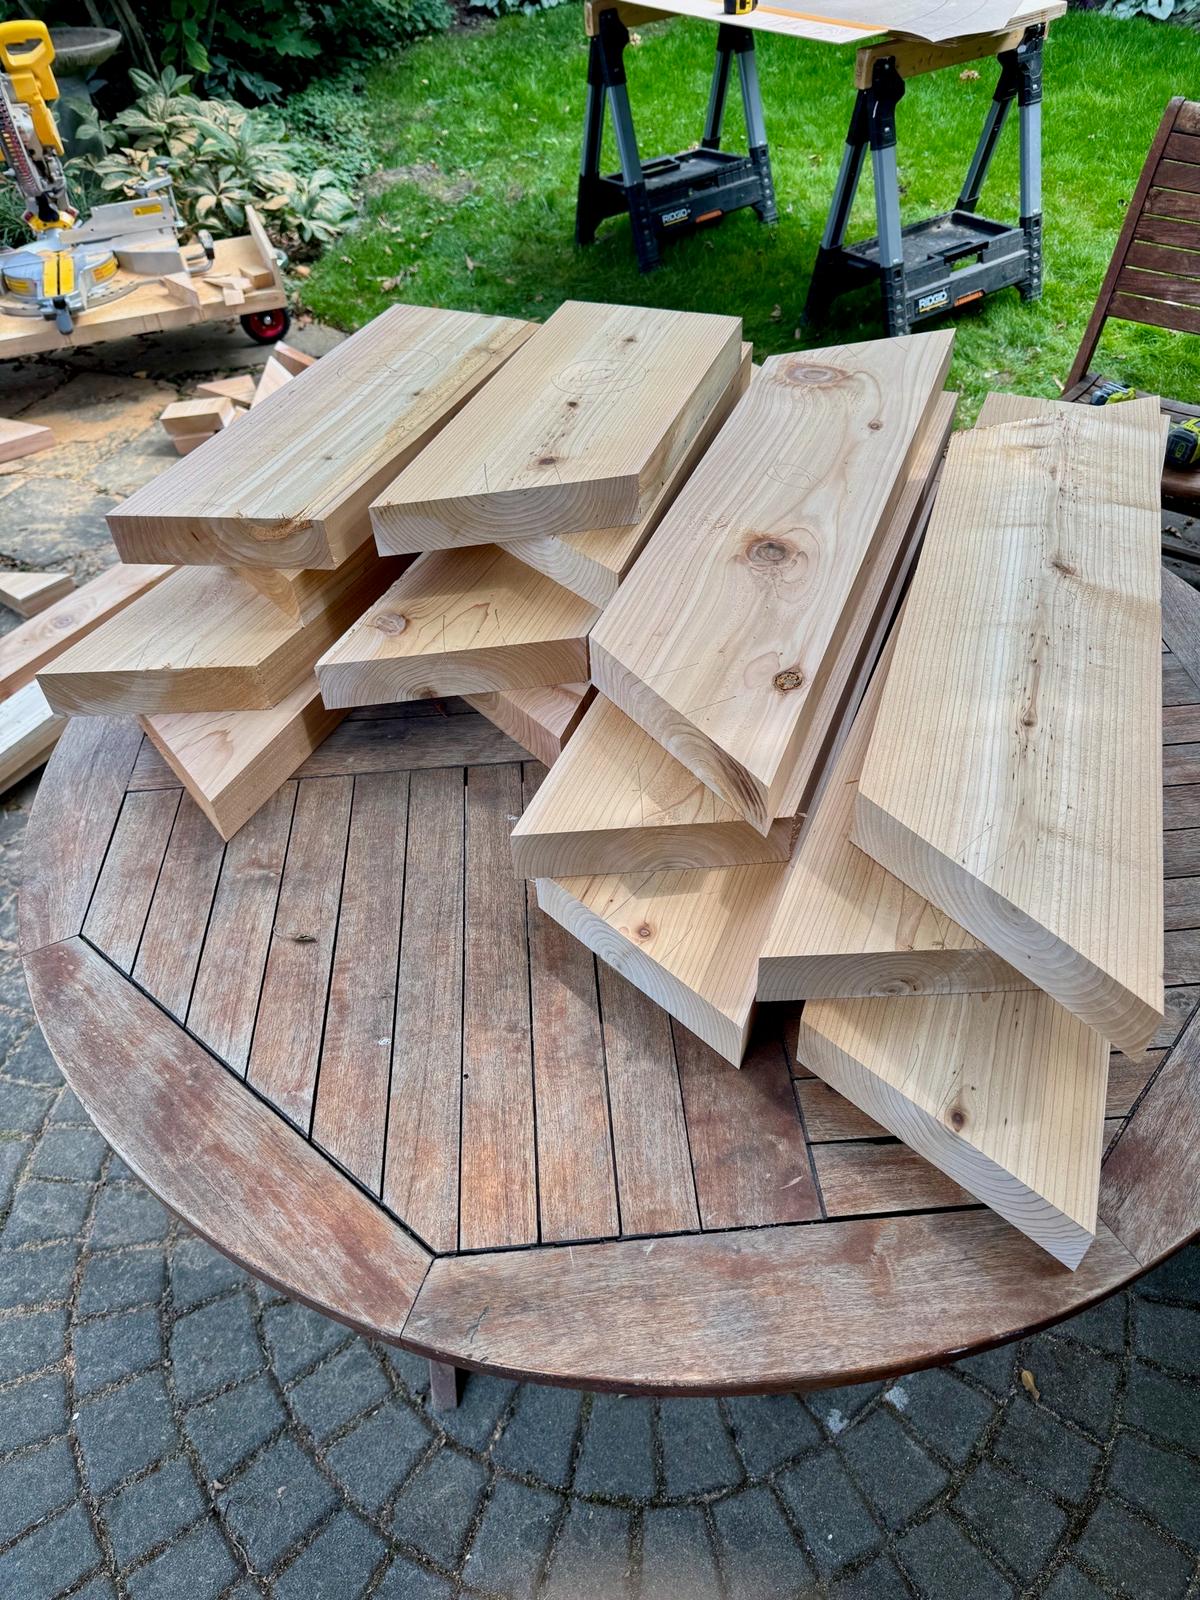
Next up was transferring the half circle to a large sheet of construction paper which I would use to guide the cutting list for what would become the final pattern for the layup and lamination. With some trial and error I established some miter angles and layup patterns that maximized the lumber widths and lengths I had to work with. What resulted was a stack of carefully numbered and aligned pieces ready for the lamination process.
Sticky Situation
Cedar is an inherently oily wood and it's what's behind the strong scent and insect repelling properties cedar is well-known for. Solving for laminating an oily wood plus the outdoor requirement meant ordinary wood glues were not an option. Enter West System Epoxy. Most commonly used for boat applications, the product is a perfect solution for bonding the cedar together as well as for filling knots and voids.
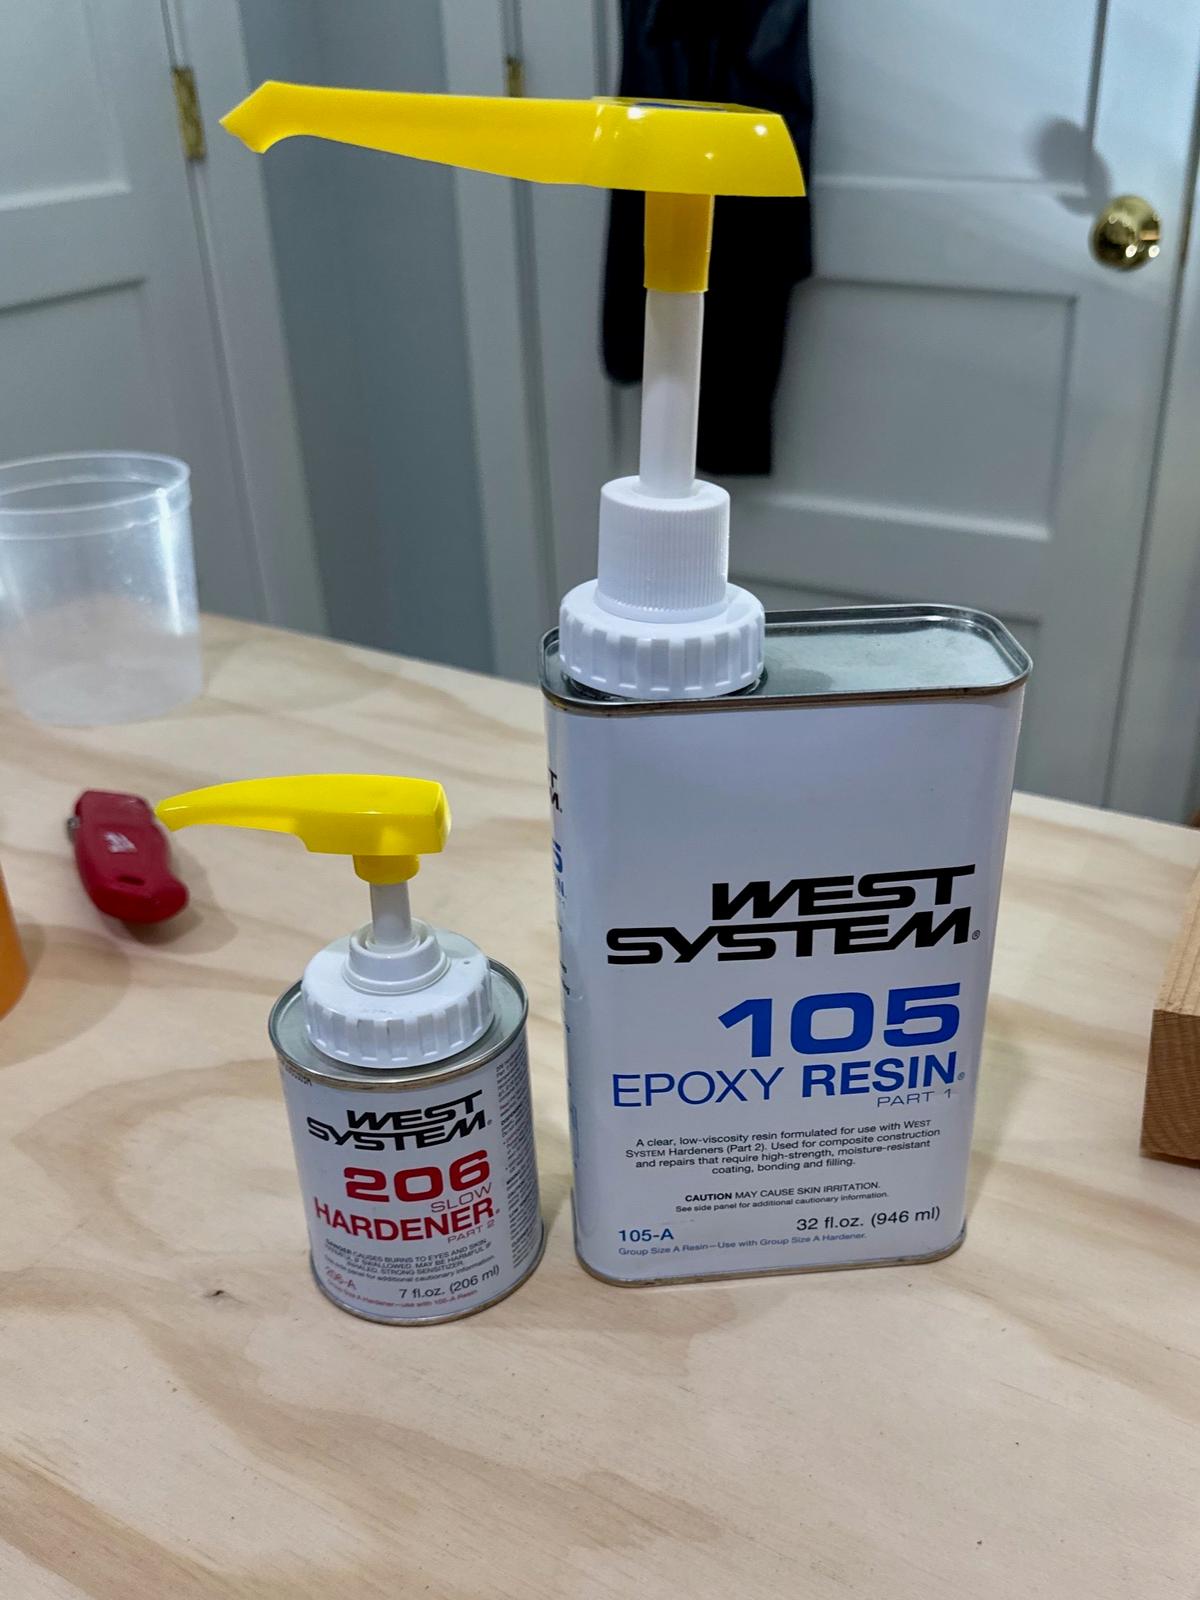
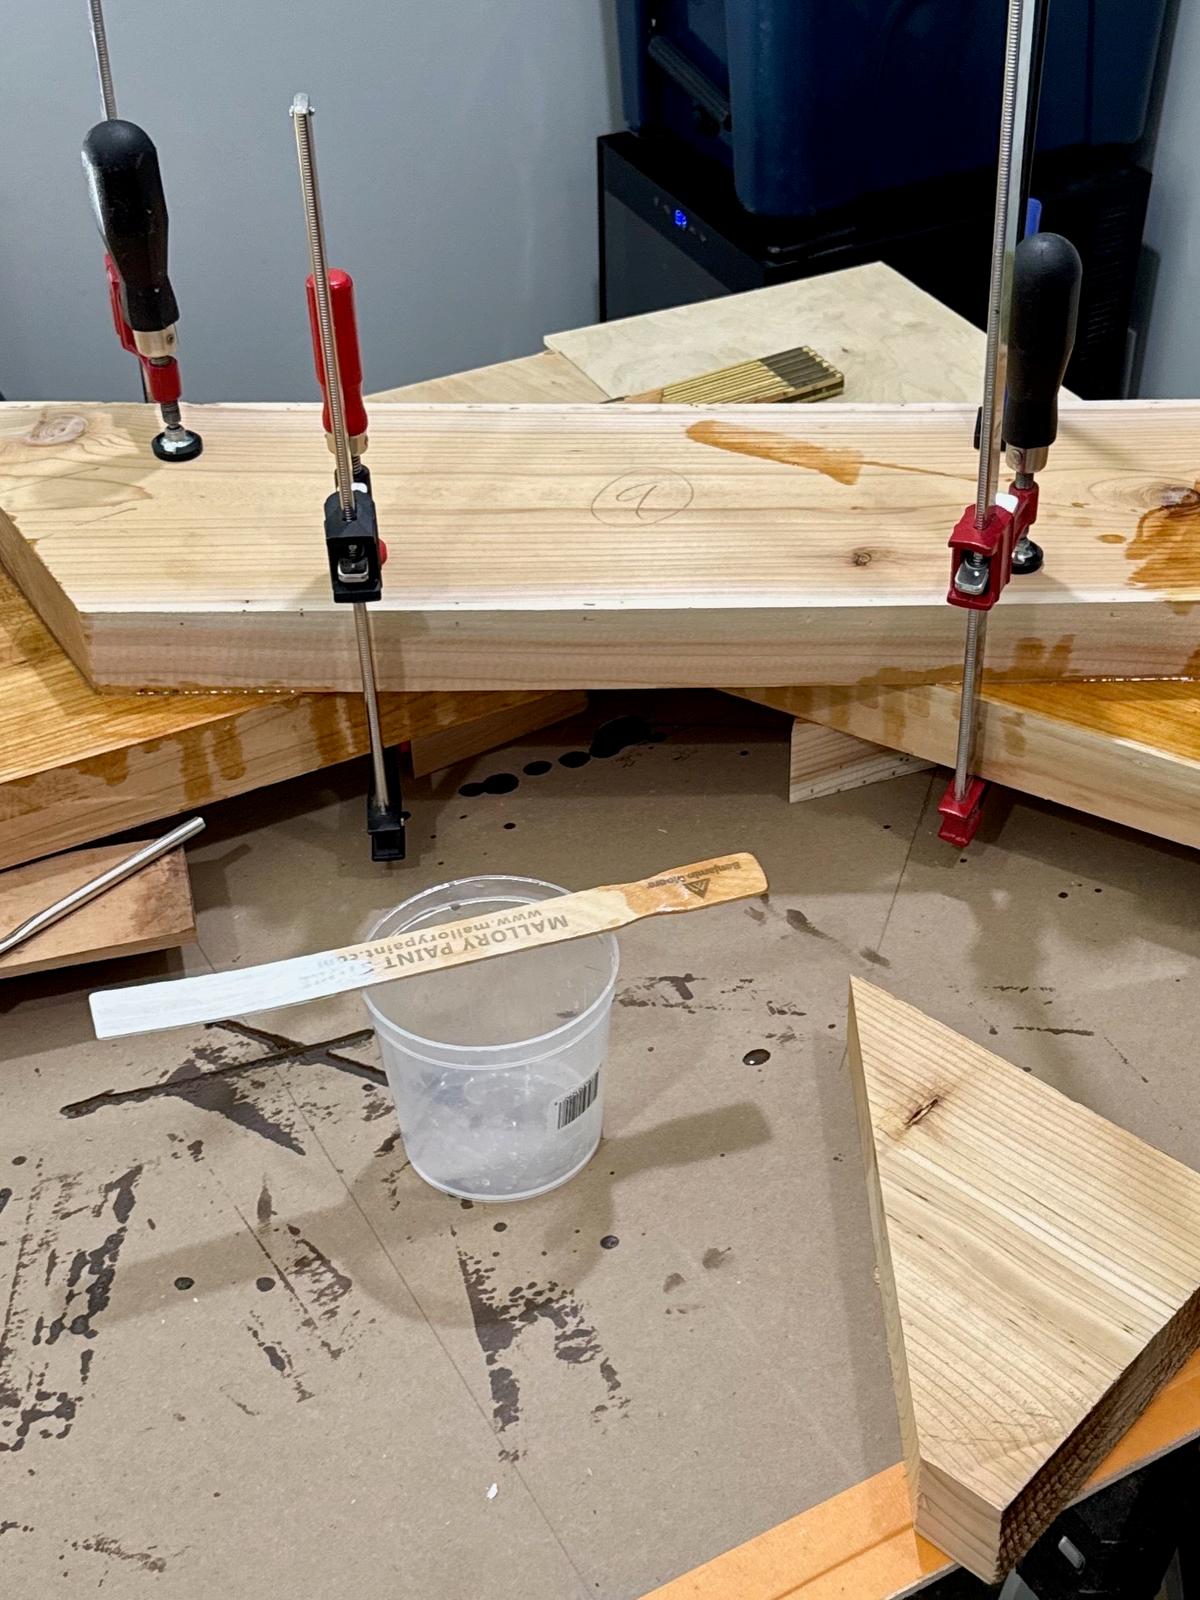
It was surprisingly easy to use. I used the slow-curing hardener which gave me a lot of open time to assemble the puzzle pieces. Although not technically difficult, this process was time consuming! The epoxy needs warm temperatures to cure properly and my basement could only accommodate one arch at a time. I completed both laminations over the course of several days and was finally ready to cut out the final shape.
Band Saw Adventure
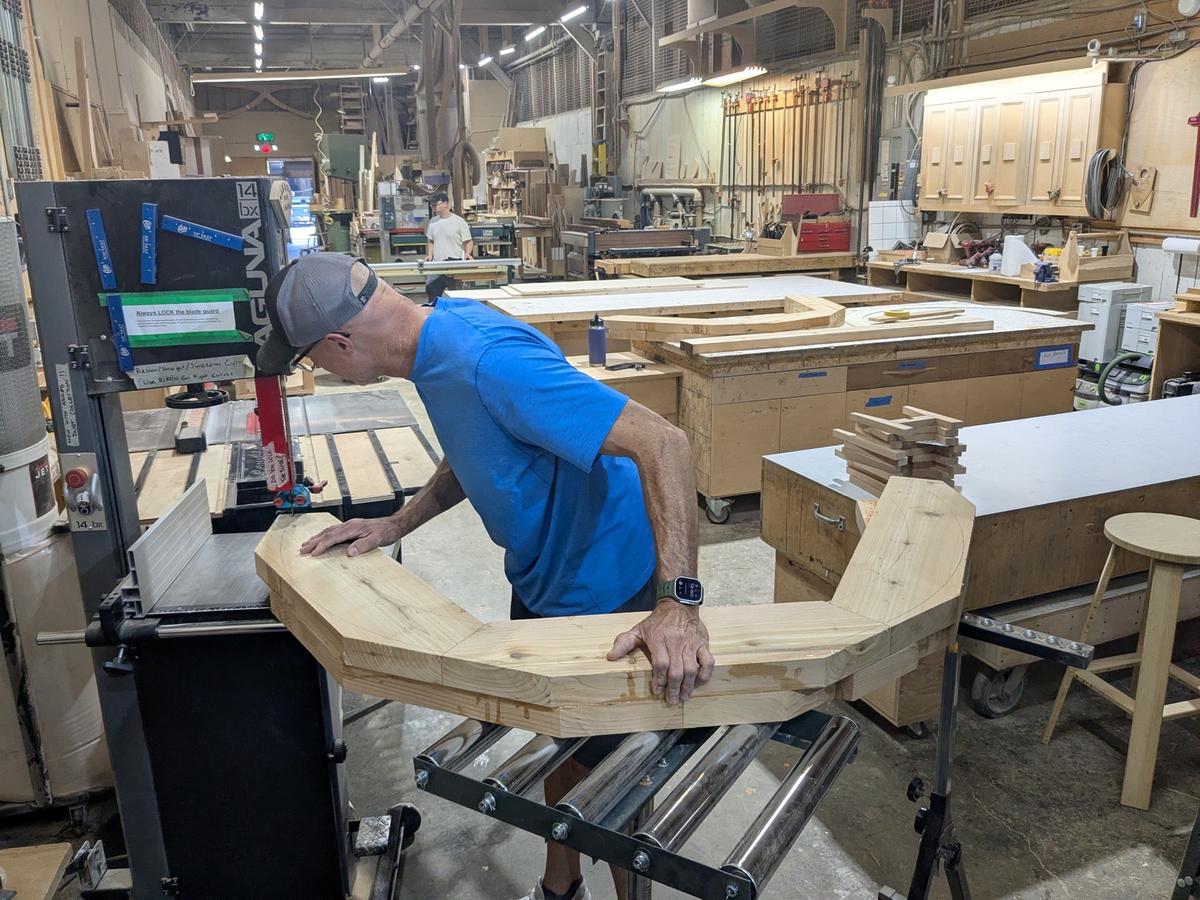
I was excited to pack up the raw arches in the truck and head down to my community shop where I would avail myself of the large bandsaw to cut out the blanks. Upon arrival, I realized I had underestimated just how big and unwieldy the pieces were. Thankfully I was able to get creative with several feed rollers and was able to successfully cut out the semi-circles without breaking a single blade. Back home I used the original template to touch up the final shape with multiple passes of a router and then used a belt sander for final smoothing.
Preparing For Spokes
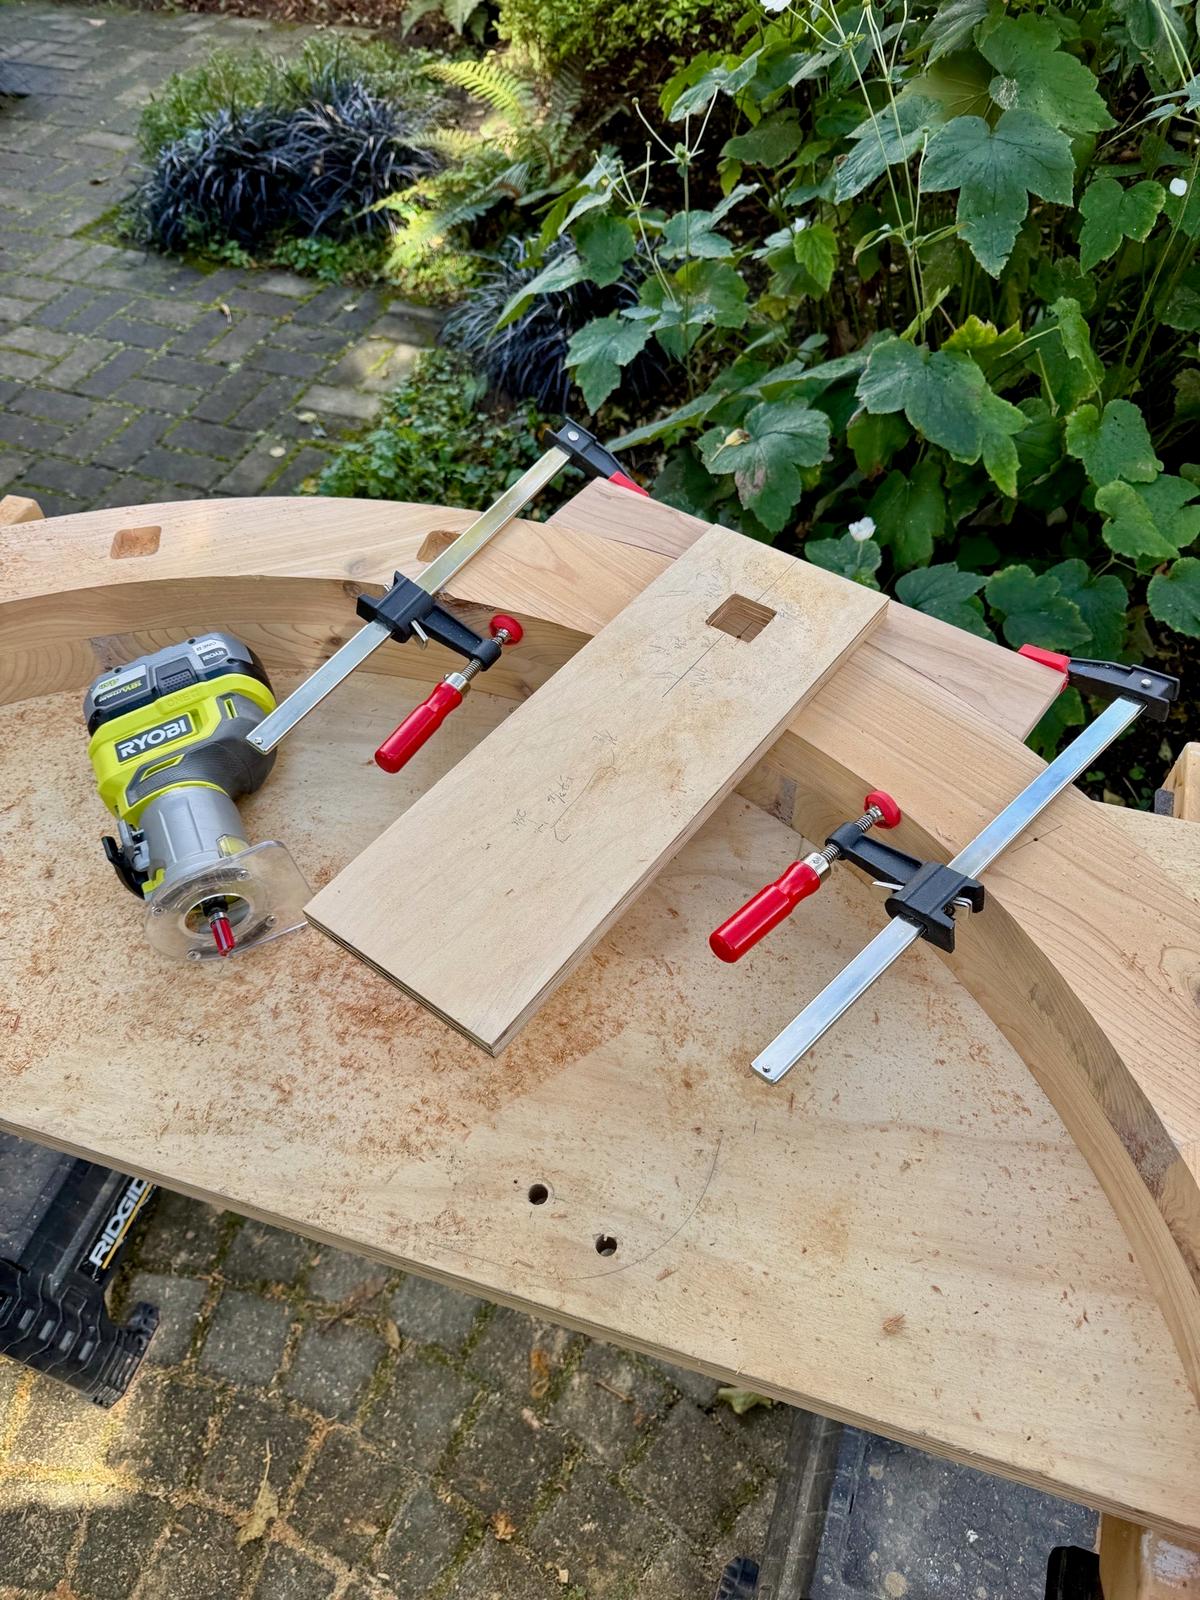
I used the table saw to cut out the seven 1 ½" square spokes that would connect the two arches together and form the lattice work to hold our ivy planting. I ran the spokes through the router table with a ⅜" round over bit which would match the radius of the mortising bit I used to hog out the spoke holes. This was also time consuming, but the jig I created was up to the task.
Final Assembly
I was now ready to put it all together at last. I tested the fit on the spokes and was pleased that a snug press fit had been achieved - this would make assembly in place so much easier!
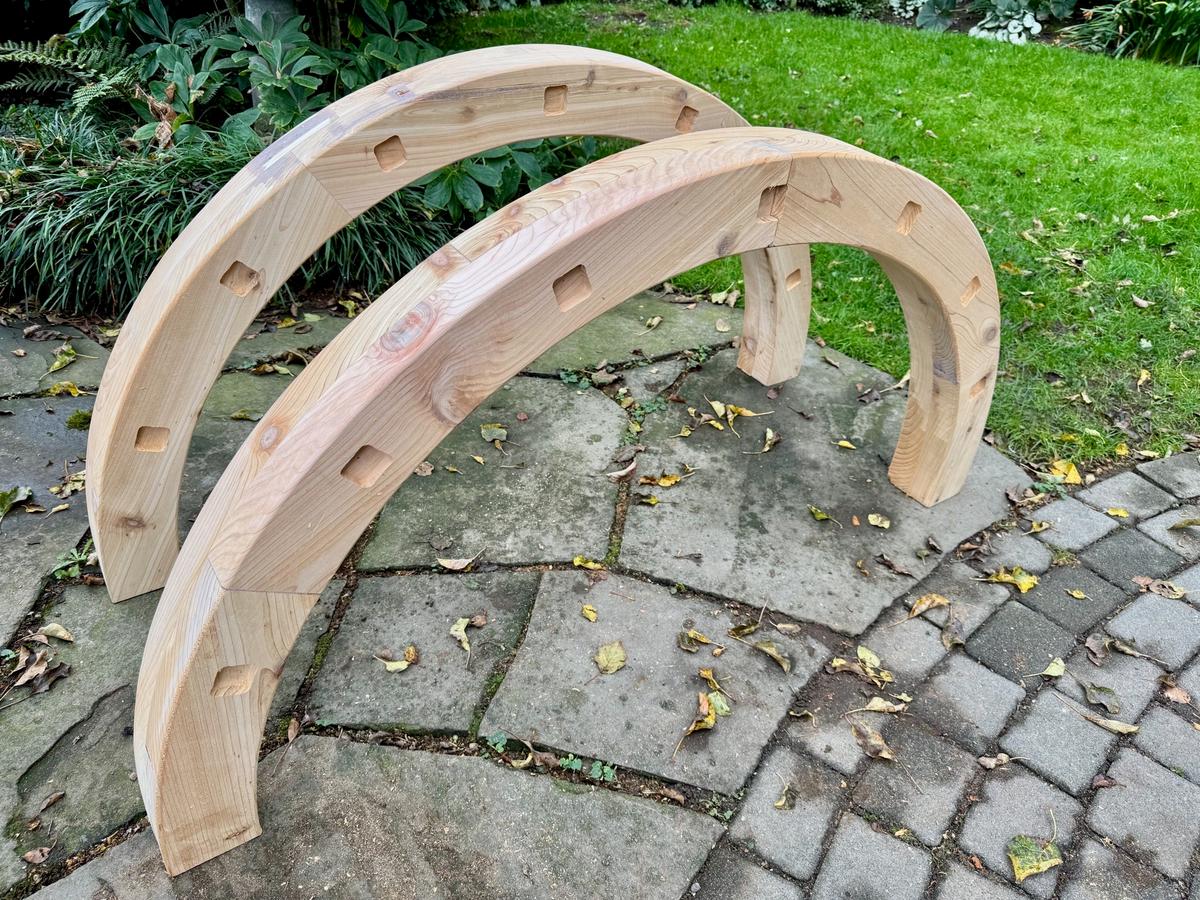
Using some clamps I secured the first arch and then worked my way around inserting the spokes. Hoisting the second arch up I was able to press in the lower spokes, apply a clamp and then work my way upward seamlessly. I was thrilled at how my planning had worked out as I had envisioned it!
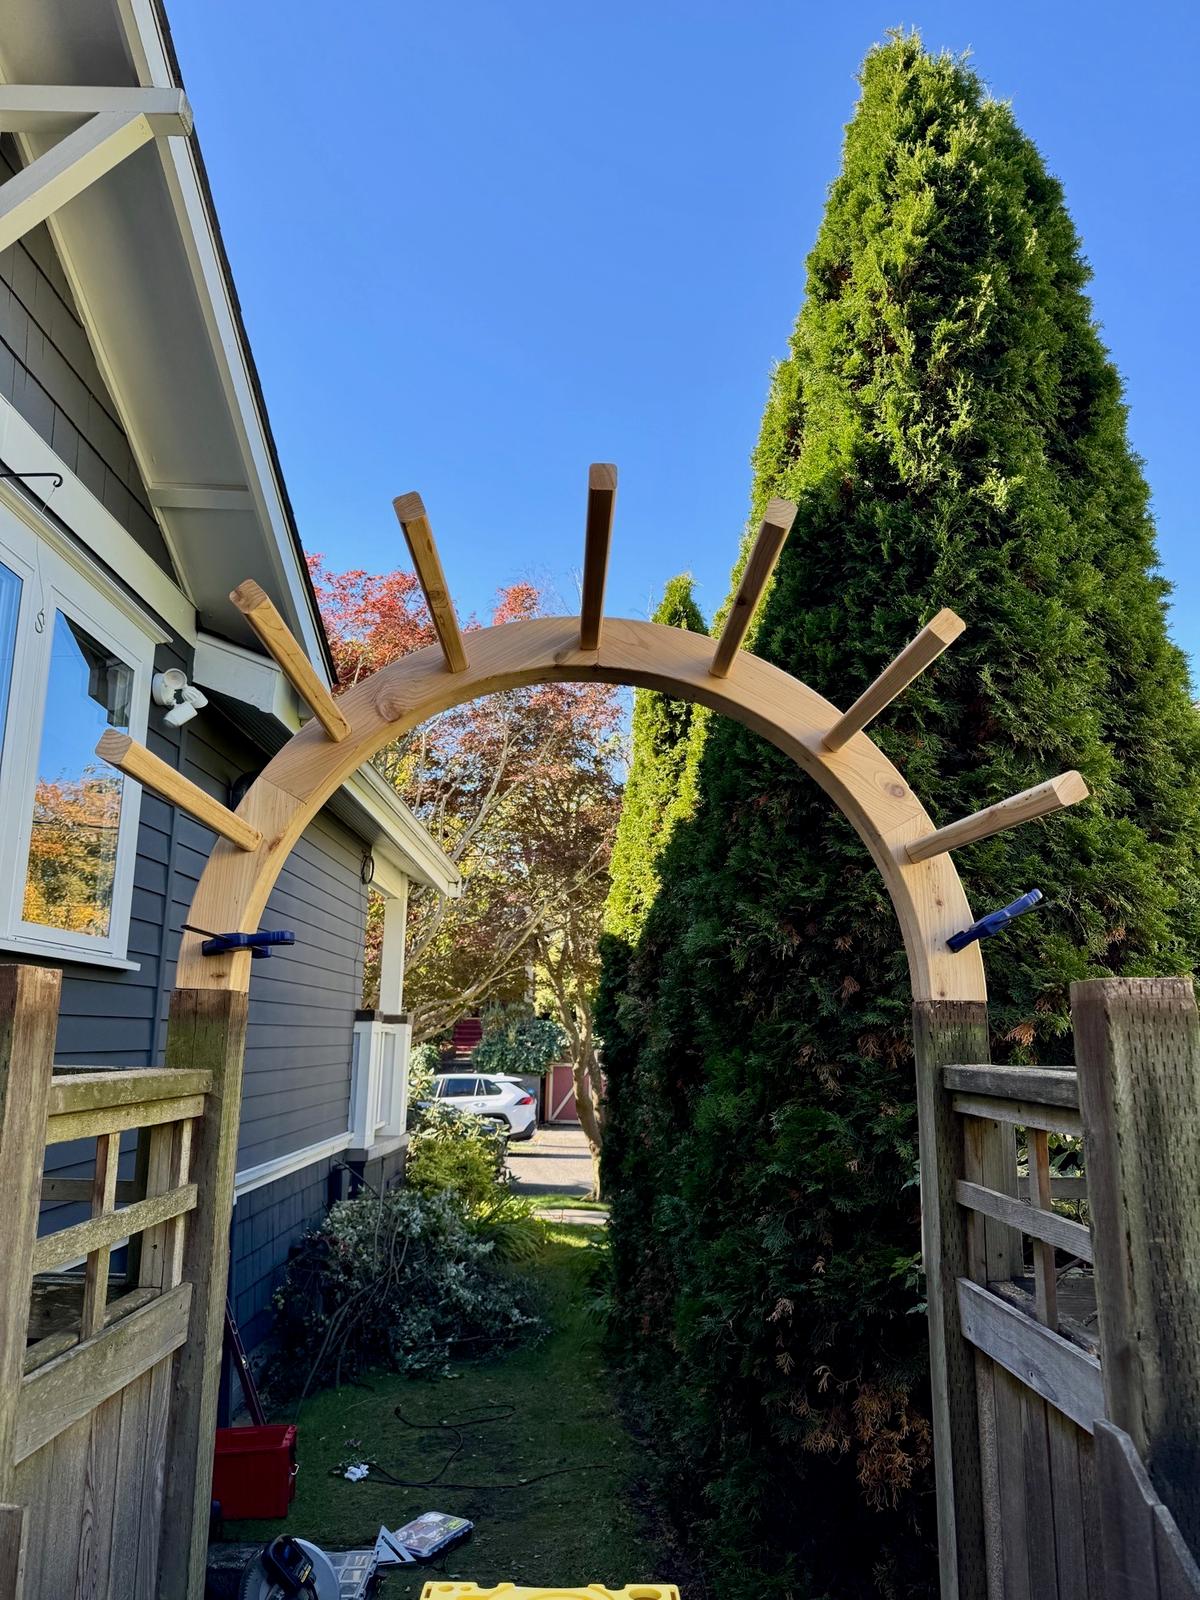
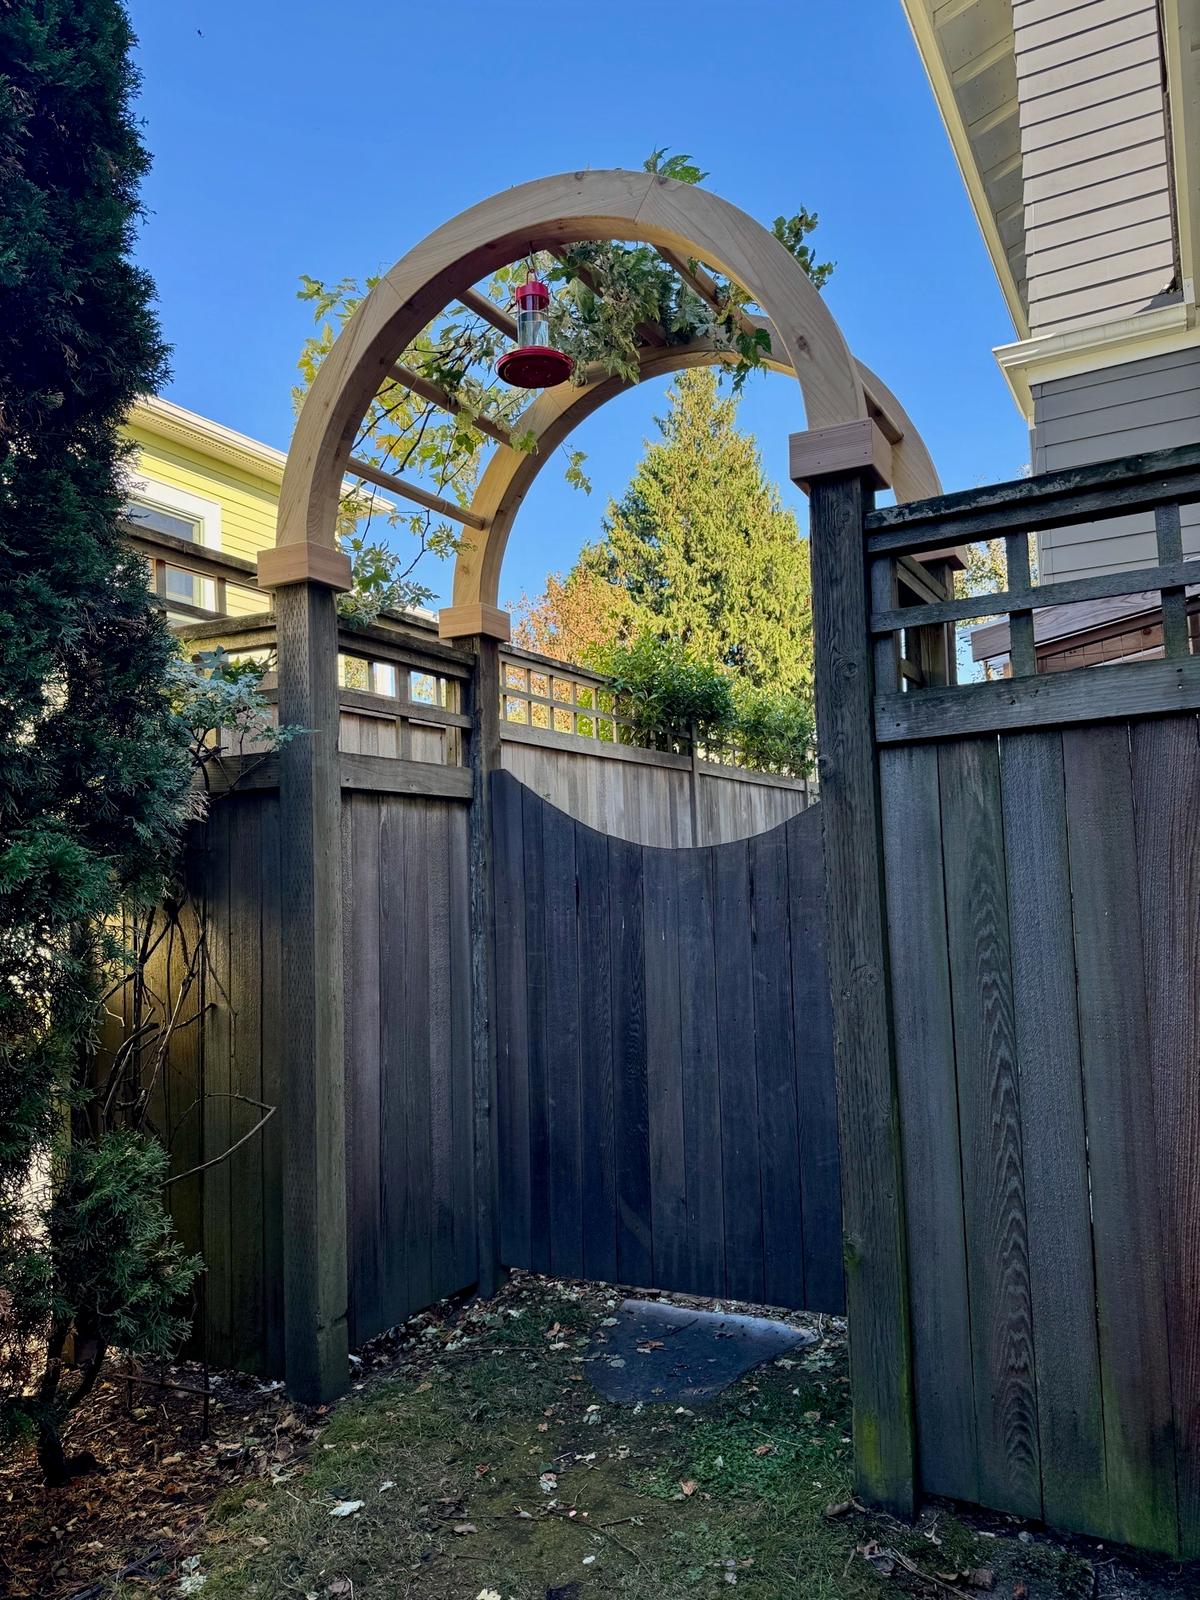
Using my brad nailer I simply nailed off the spokes into the arches and it was locked together. I then secured the assembly to the tops of the supporting posts with construction adhesive and then finished the connection points with mitered cedar trim. Finally, I draped and secured the ivy on top and reinstalled the hummingbird feeder and voila, it was complete!
I know that I over-engineered this, however the combination of the cedar with the West System Epoxy ensures that this arbor will be around for a very long time. That makes me happy.
Related services
More from the blog
The Overlooked Art of Millwork Restoration
Matching century-old moldings for a Queen Anne remodel meant finding a Seattle shop that still cuts custom knives from scratch, an often-overlooked craft.
Fence Gate Hardware Has Come a Long Way
Looking for better and more secure fence gates? See what's changed with the latest in gate latch hardware.
Get started
Ready to get started?
Reach out to discuss your project and check availability.