May 9, 2026
From Log to Lumber: A Day Milling Cedar on Camano Island
There's something deeply satisfying about watching a raw log — bark still on, dirt in every crevice — transform into clean, fragrant planks of Western red cedar. Last week, I made the trip out to Camano Island to do that, and produced a full stack of lumber ready for a future project.
The mission was straightforward enough: take a collection of cedar logs, run them through a Norwood bandmill, and stack the resulting planks to air-dry. It was a full day of physical work, problem-solving, and the kind of hands-on satisfaction that you simply can't get any other way.
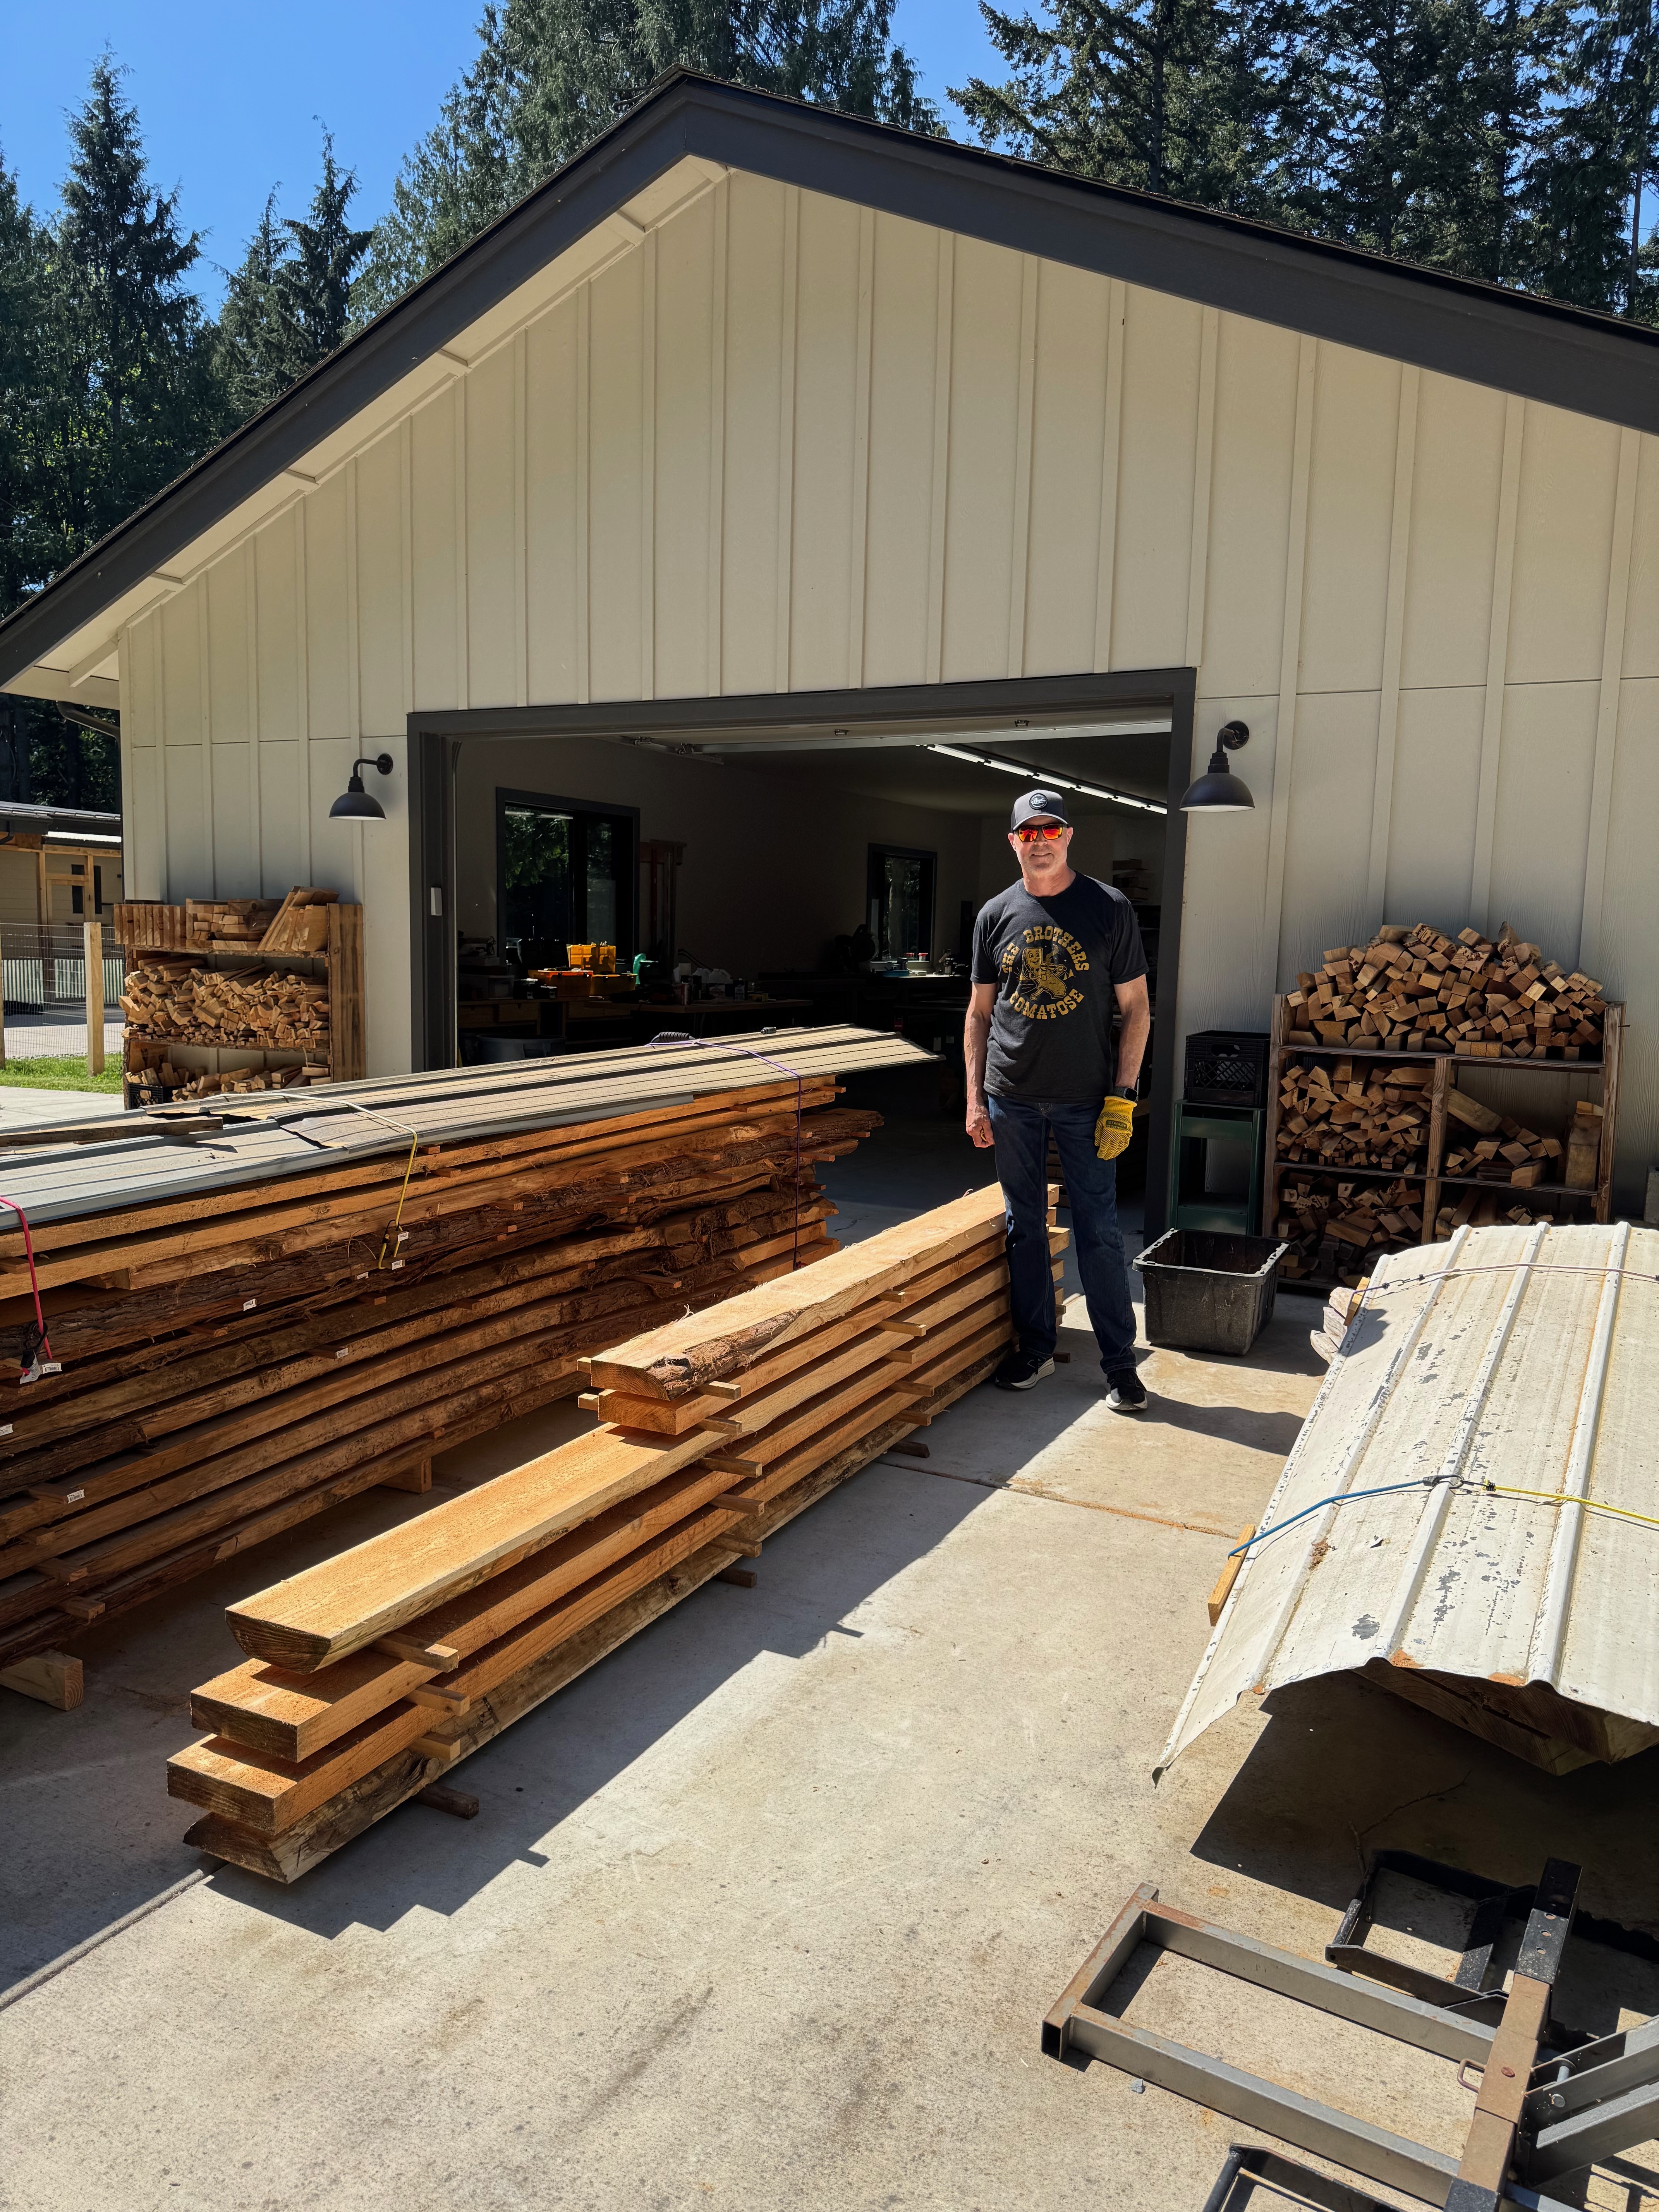
Camano Island sits in the Puget Sound just north of Stanwood, wrapped in towering Douglas fir and cedar. The property had its own small mill yard — a well-equipped shop on one end, logs stacked in the clearing beyond, and the kind of quiet that makes you feel like you're doing something real.
Step One: Preparing the Logs — Pressure Washing
Before a log ever touches the mill, it needs to be clean. This is the step that nobody photographs for their woodworking portfolio, but it's every bit as important as the cutting itself. Old cedar logs accumulate years' worth of soil, bark debris, embedded grit, and sometimes rocks — and any of that material hitting a bandsaw blade at speed will dull it fast, or snap it entirely.
We pressure washed each one, blasting the bark face and the ends of every log, paying special attention to the crevices where dirt likes to pack in tight. The water turns orange and brown as it strips the grime away, and underneath you start to see the richness of the wood — that warm, reddish heartwood that makes cedar so distinctive and so prized.
It's also worth checking the ends of logs for embedded metal at this stage — old fence posts, spikes, anything that got grown over. Nothing ruins a day of milling faster than a hidden nail.
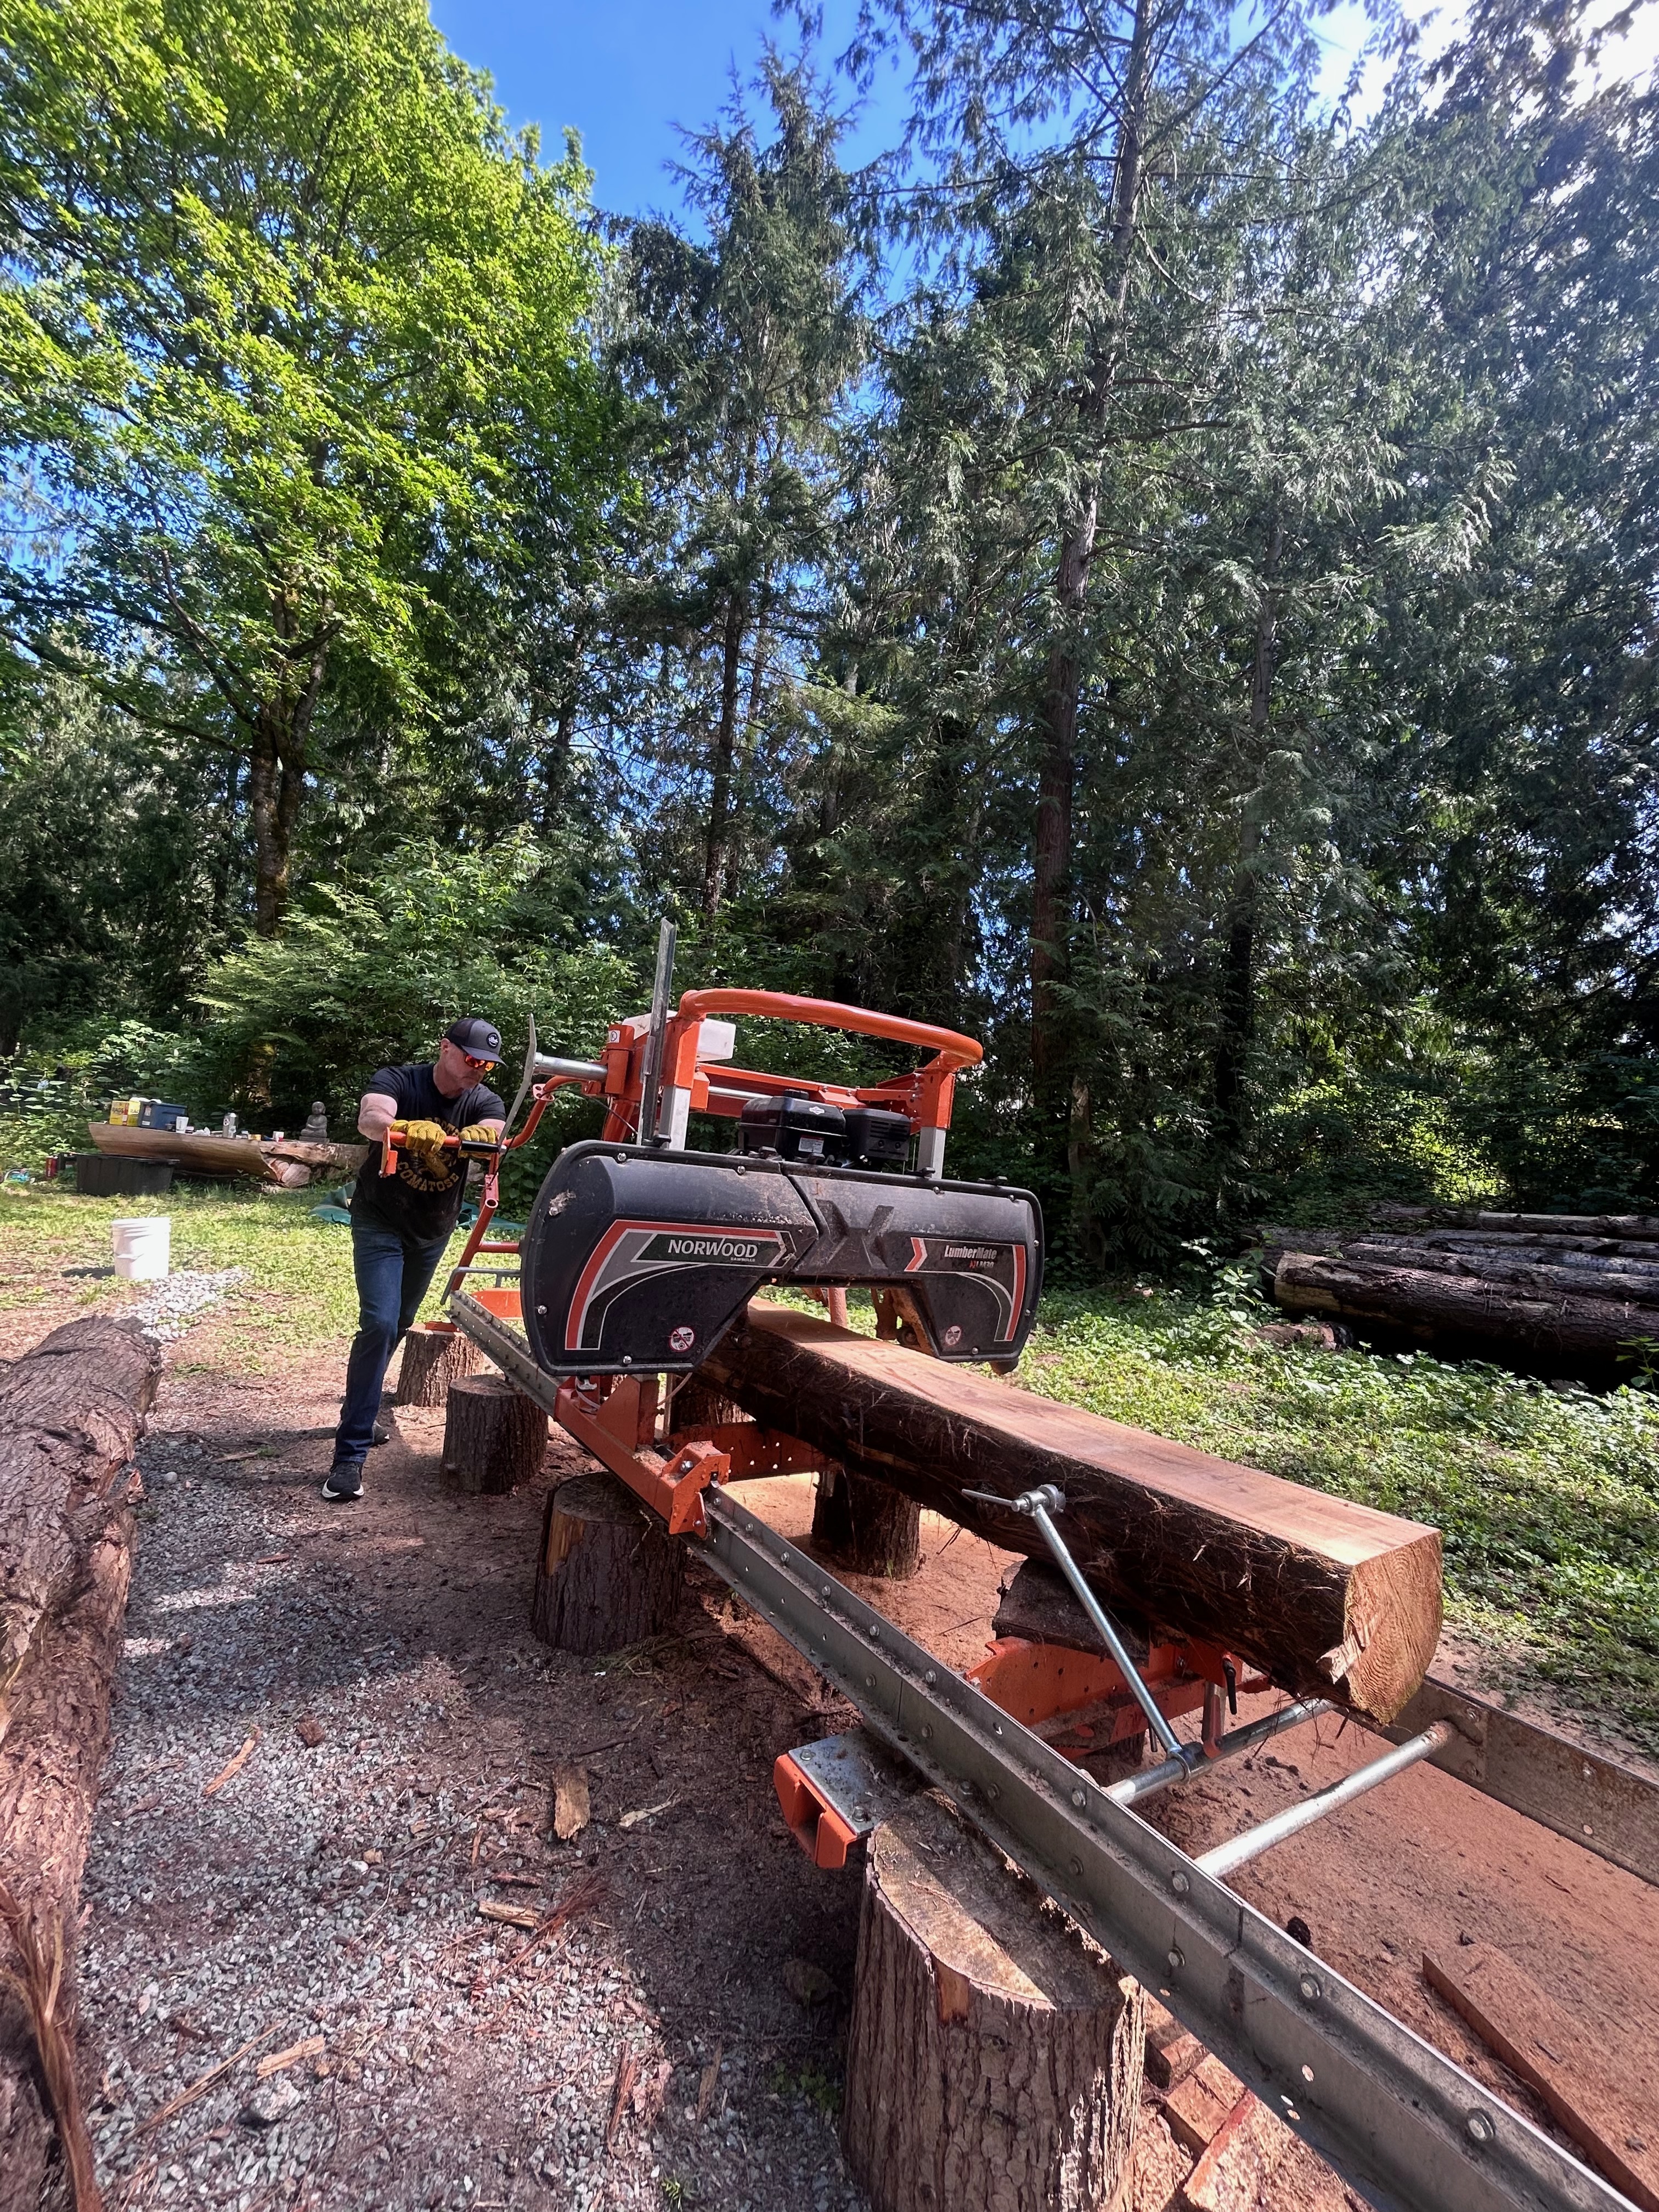
Step Two: Setting the Log on the Sled
The Norwood LumberMate is a portable bandmill — the kind of machine that lets you bring the sawmill to the logs rather than hauling logs to a stationary mill. Ours was set up in the clearing, rails extending out on log stumps acting as support stands. Getting a large cedar log positioned correctly on the sled is a blend of physics, patience, and leverage.
The goal is to find the log's best face — the flattest, most stable side — and get it seated down on the mill bed so the log won't roll or shift during a cut. We used cant hooks and timber dogs to maneuver each log into position, then set the log dogs (the adjustable clamps on the sled) to lock it in place. A log that moves mid-cut is dangerous and ruins the board.
Once the log is secured, you set the blade height for your first cut — the "opening cut" that creates a flat reference face. After that first slab comes off, everything else is just math: dial in your target thickness, run the head, slide the slab off, repeat. We were targeting primarily 2-inch planks with some thicker beams mixed in depending on what the log would yield.
Quick notes on the Norwood LumberMate:
- Portable horizontal bandmill; the head rides on fixed aluminum rails
- Powered by a gasoline engine; blade runs at fixed speed
- Log capacity up to 28" diameter depending on model
- Blade is a narrow bandsaw — far thinner kerf than a circular saw, meaning less wasted wood per cut
- Two-person operation is highly recommended for logs over 16" diameter
Step Three: Replacing a Broken Saw Blade
Midway through the day, we hit something inside one of the logs — a density change, a hidden piece of bark, or just accumulated fatigue — and the blade let go. There was no dramatic snap or loud bang; the cut just went wrong, the wood started deflecting, and we shut the engine down to investigate.
Blade changes on the Norwood are a fact of life on a full day of milling, and with practice they become fairly routine. The blade itself is a long loop of bandsaw steel that wraps around two large flywheels. To change it, you release the blade tension, carefully peel the old blade off the wheels (watching for the teeth — they're sharp even when dulled), and thread the new blade into position.
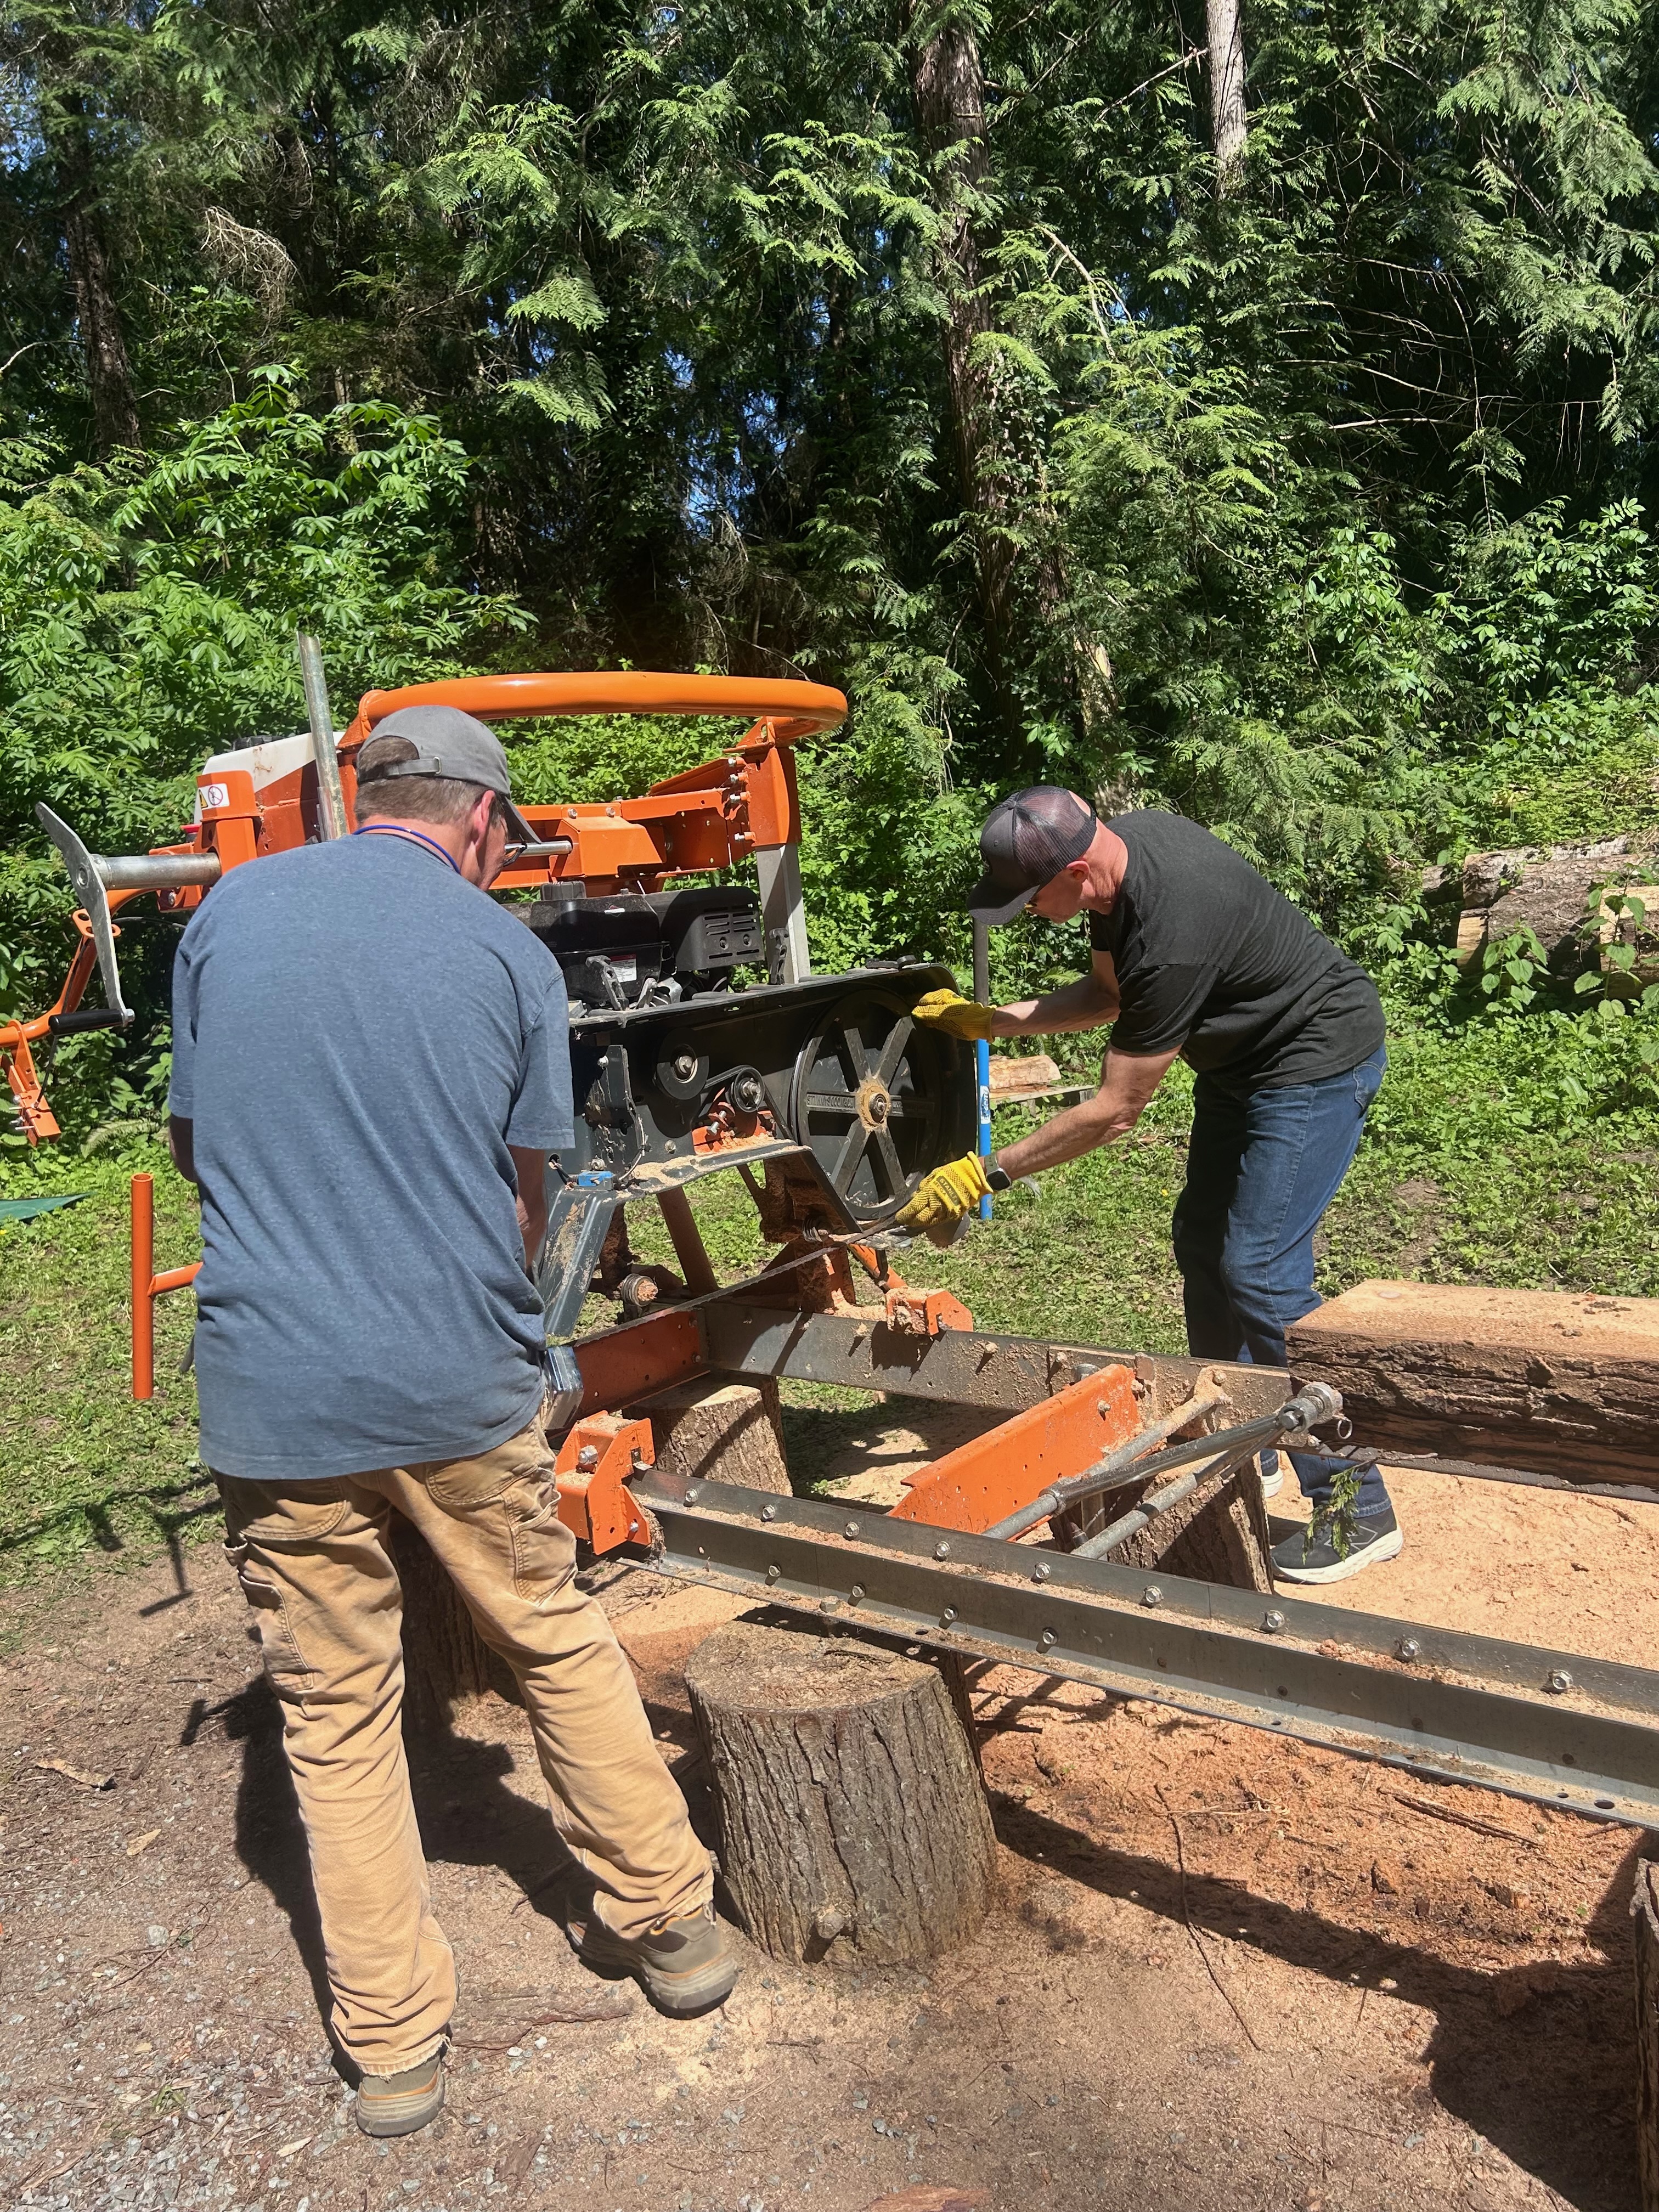
The new blade goes on with teeth pointed in the correct direction of travel, the tension gets set to spec, and the tracking is adjusted so the blade rides centered on the wheels. Then you make a slow, careful first pass to confirm everything is running true before pushing the pace back up. We lost maybe 20 minutes on the blade change — not ideal, but not the end of the world either.
It's a good reminder to always keep at least two or three spare blades on hand. Running out of blades with half the logs still to cut makes for a very long afternoon.
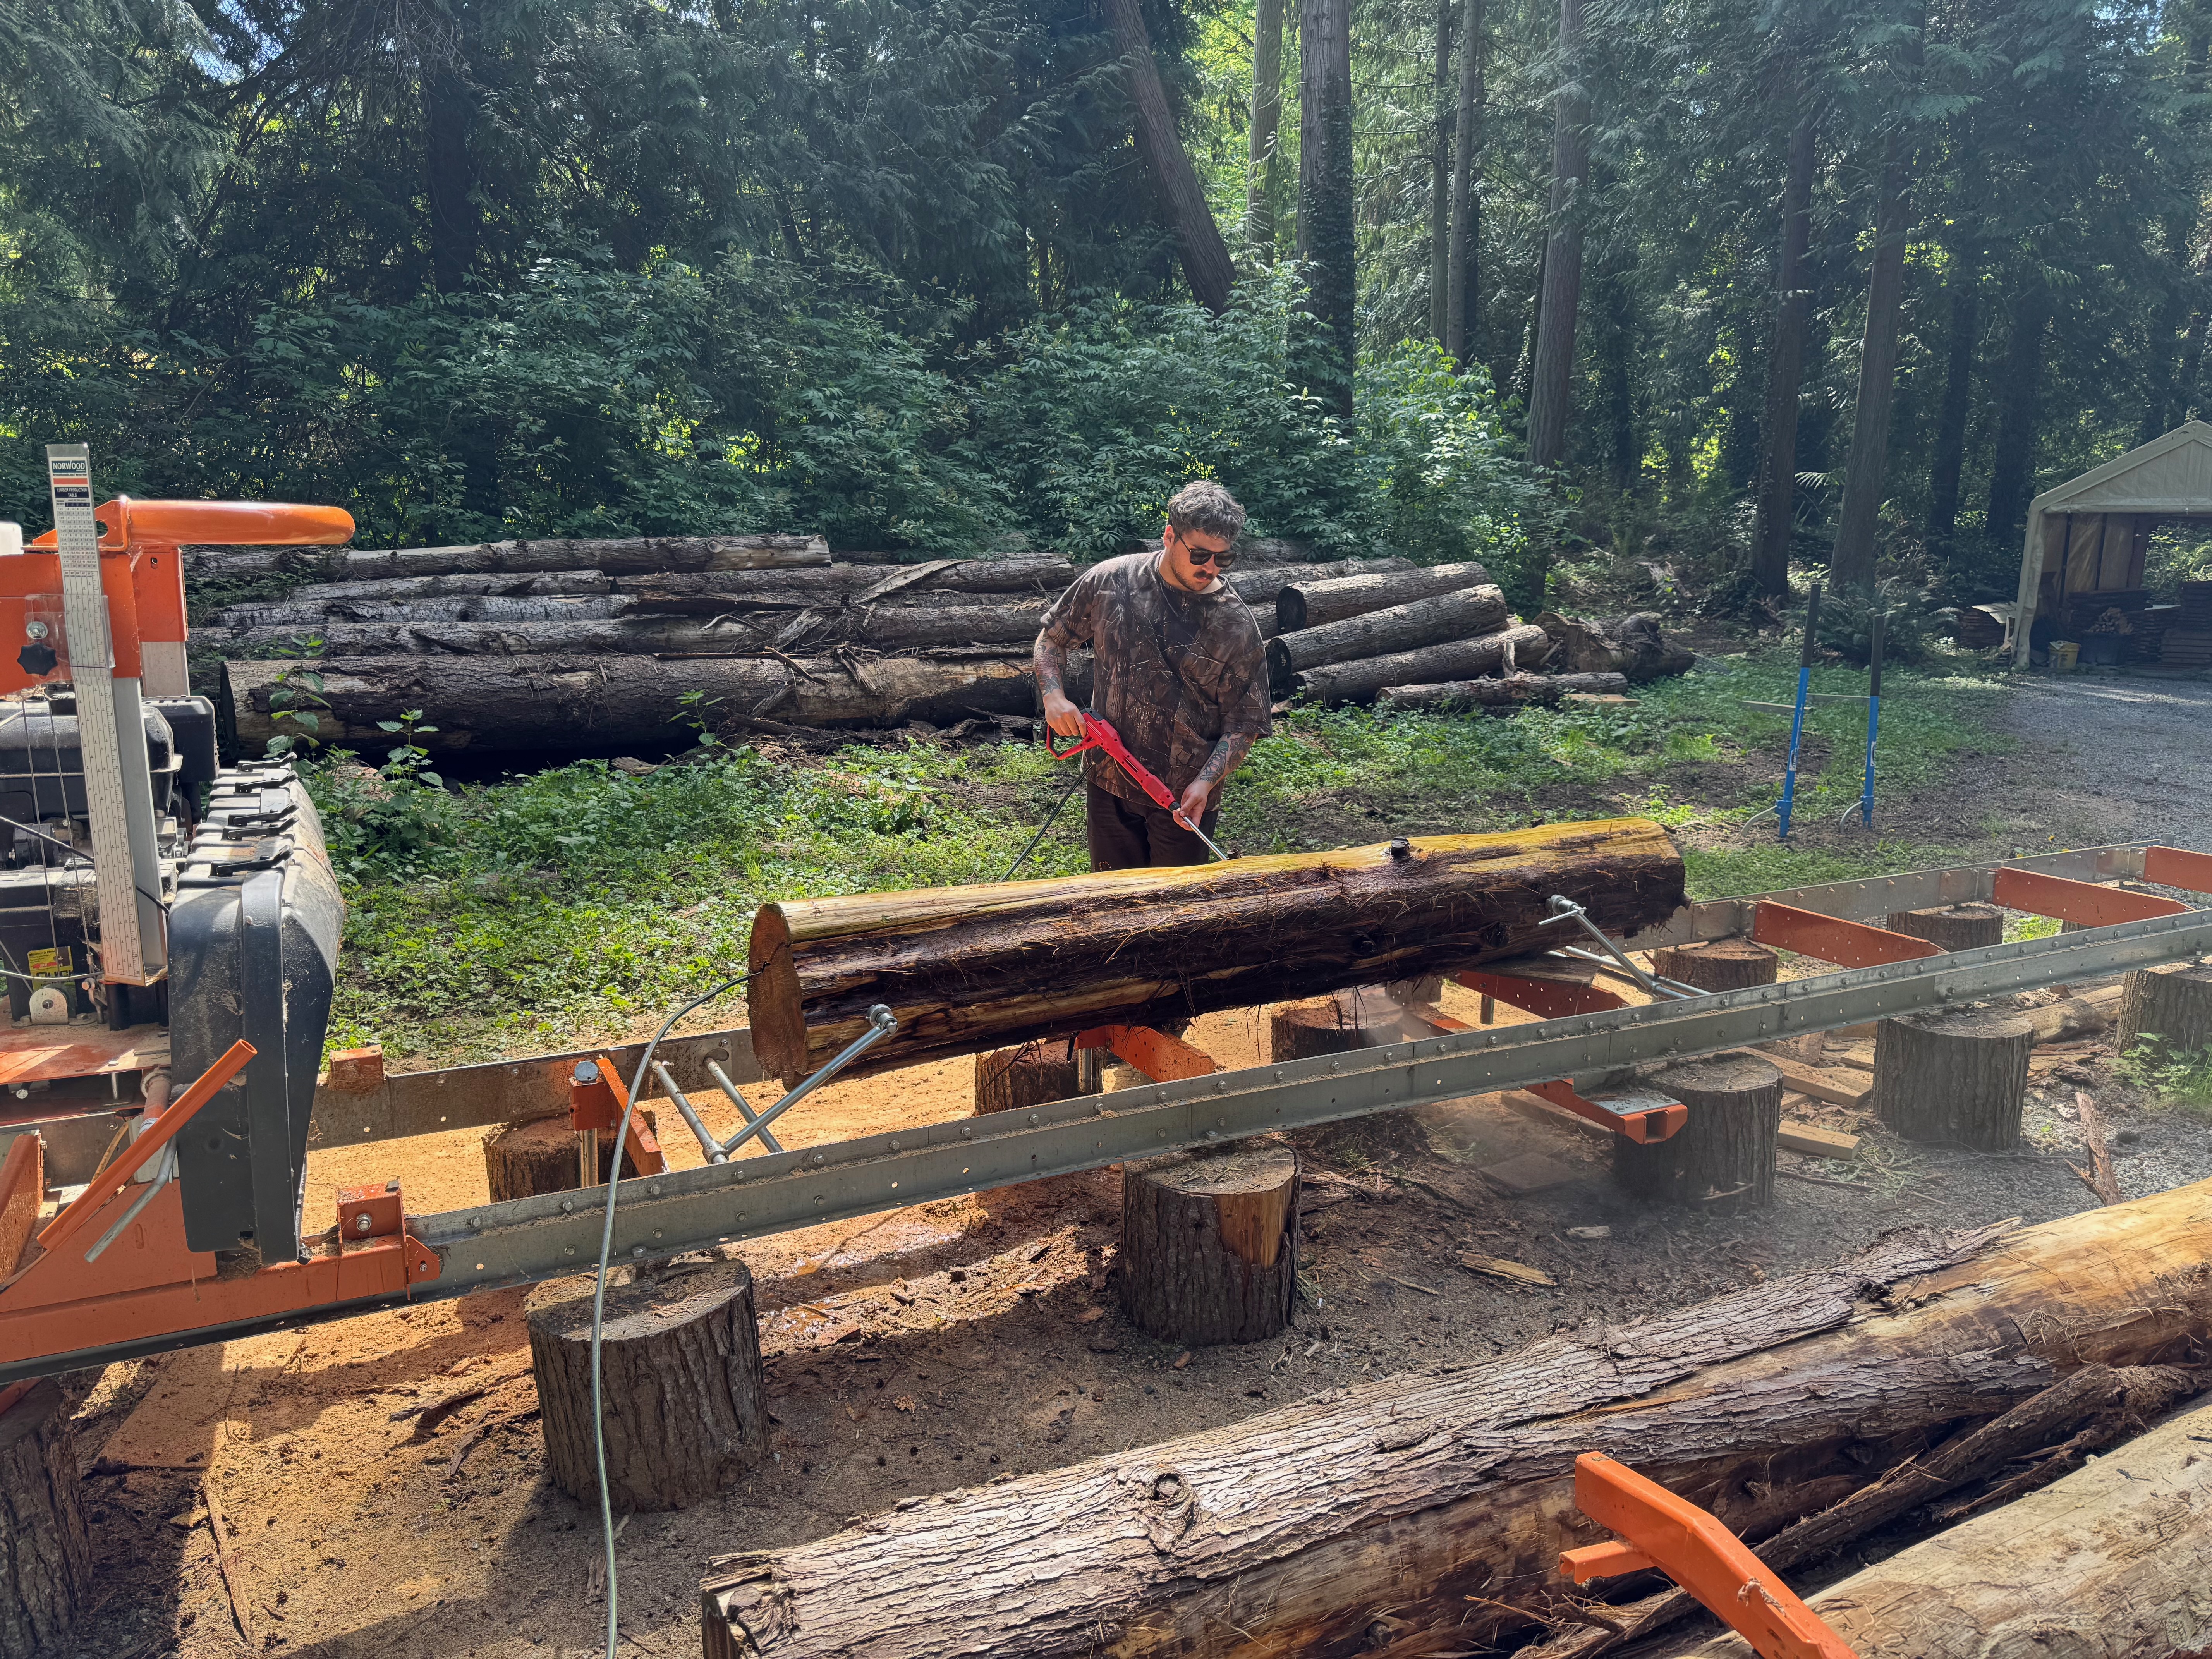
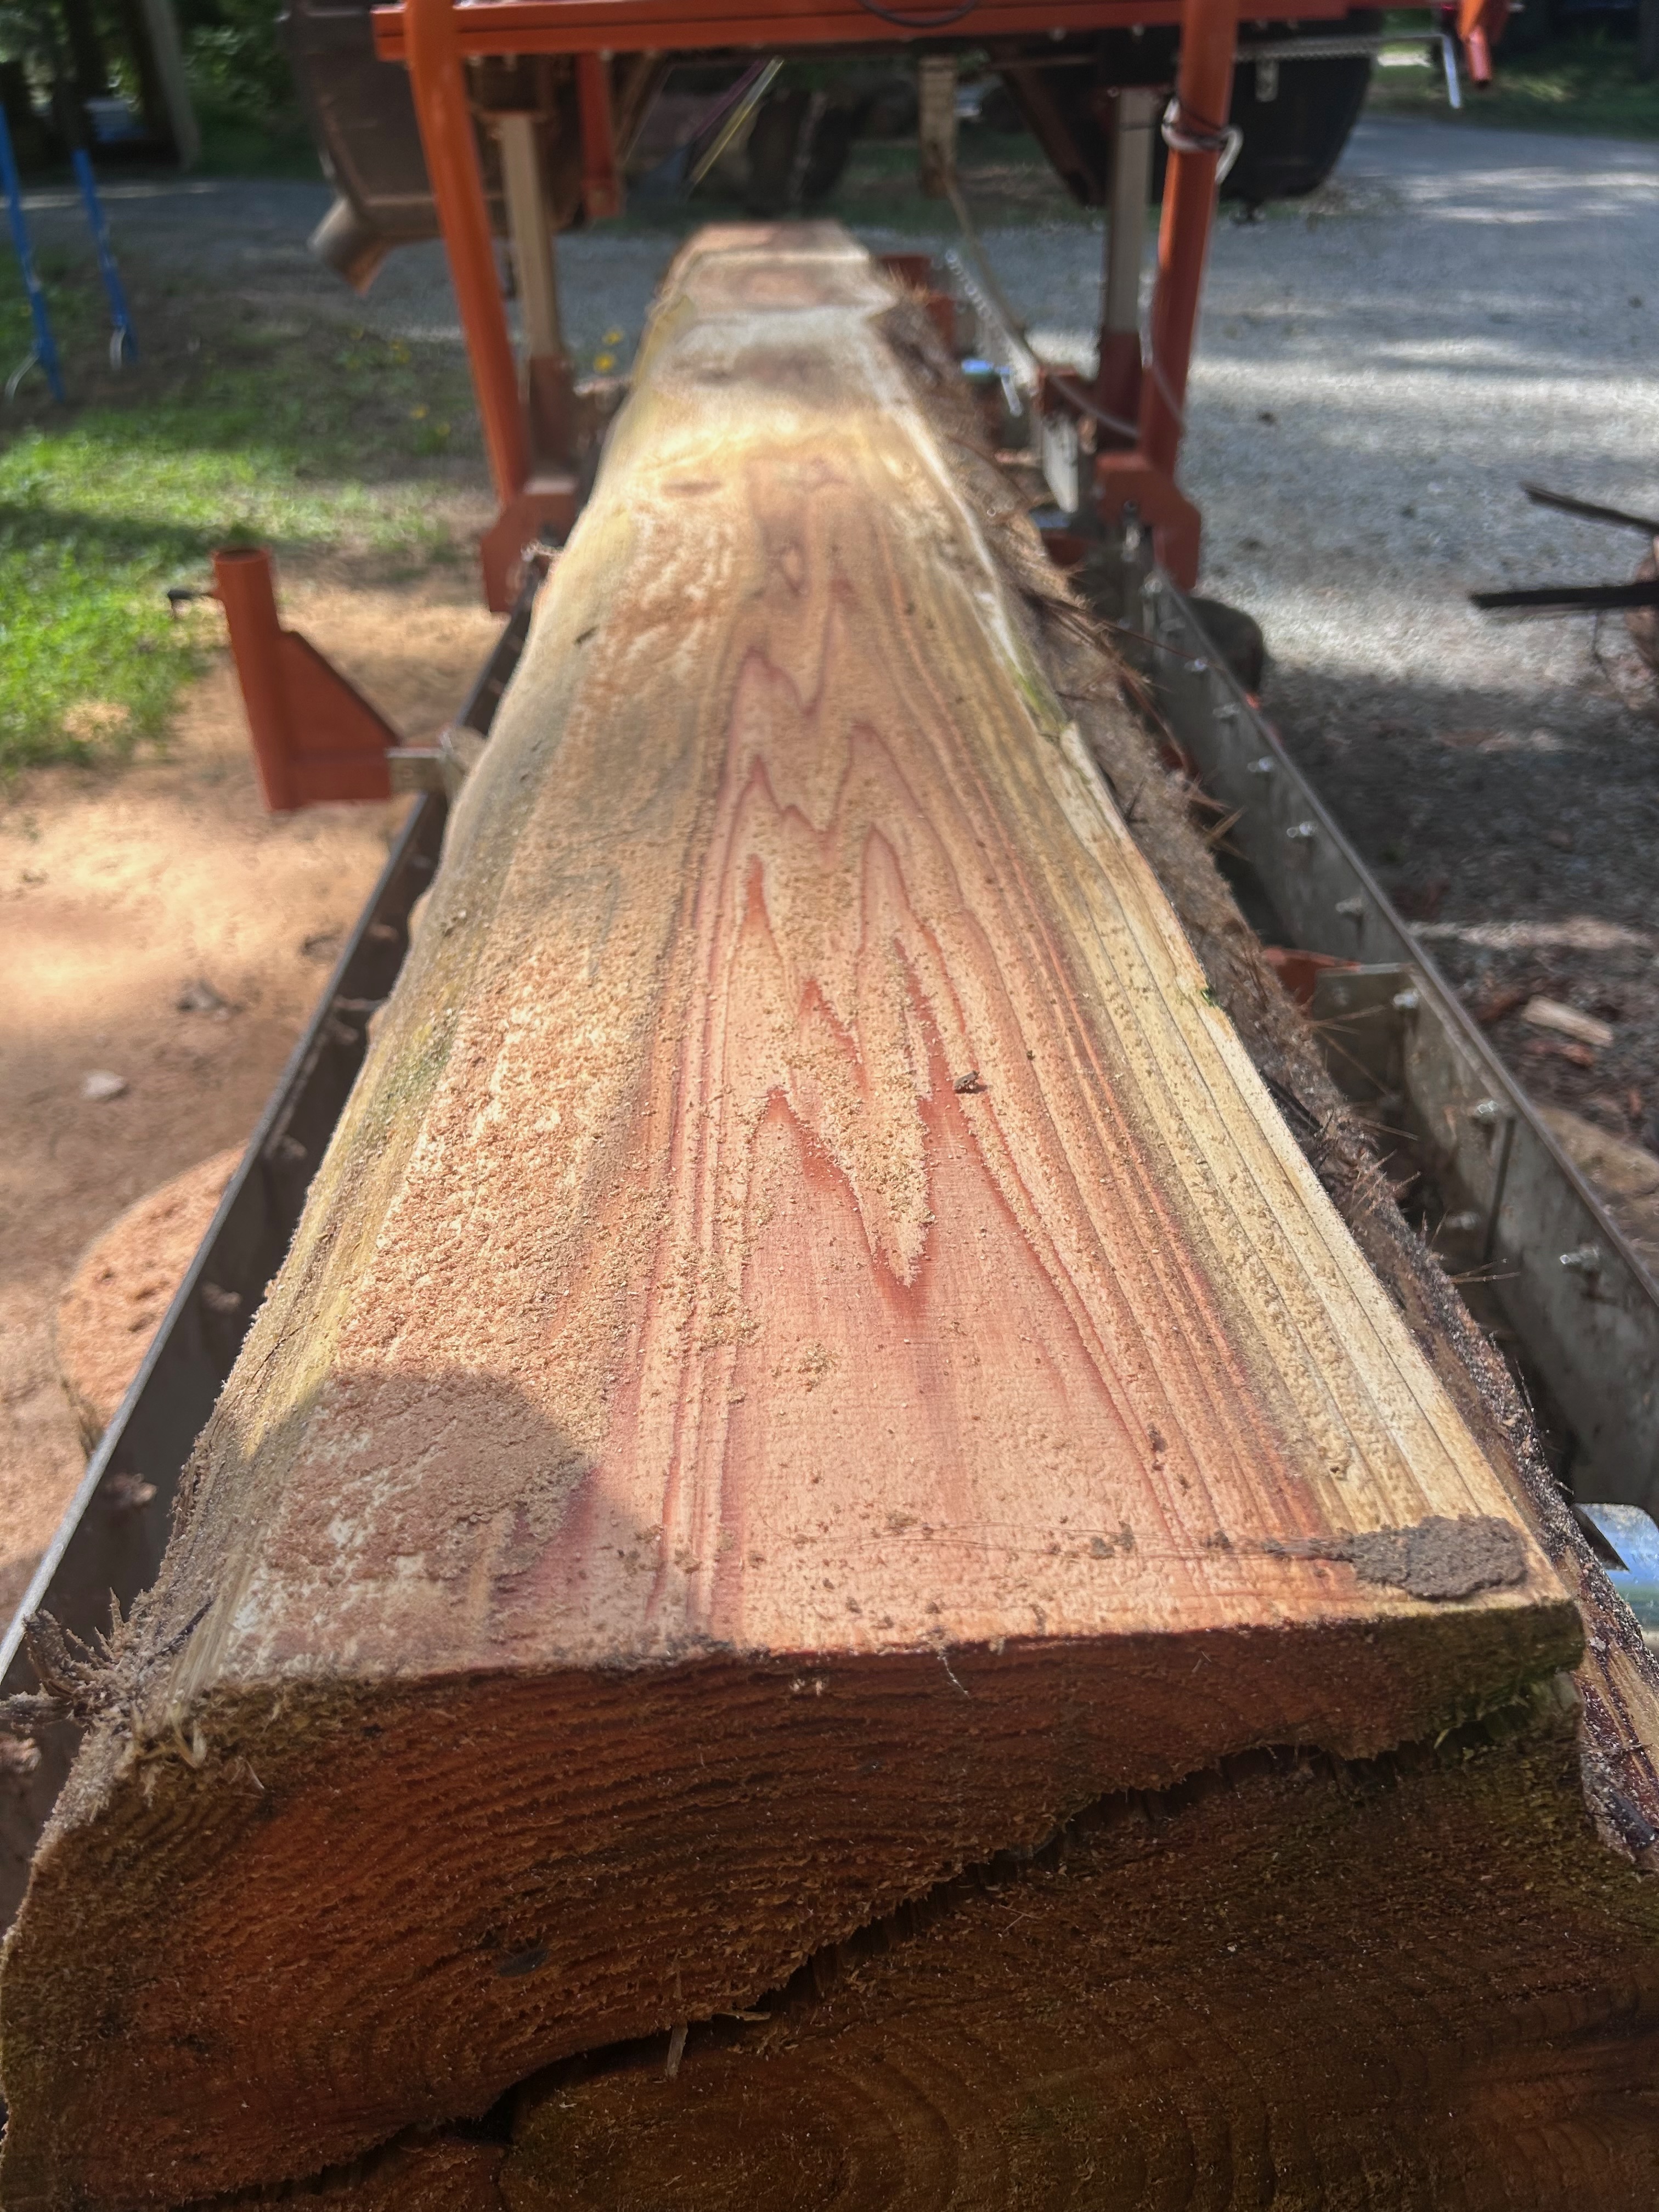
Step Four: The Cedar Itself
Once the milling was running smoothly, the real pleasure of the day kicked in. Western red cedar is a joy to work with — it cuts cleanly, doesn't require much blade pressure, and smells extraordinary the moment the fresh face is exposed. The heartwood on these logs was spectacular: deep reddish-brown, tight-grained, with the kind of figured grain pattern that only comes from old trees that grew slowly.
Cedar's natural oils give it remarkable decay resistance — one of the reasons it's been the wood of choice for outdoor applications in the Pacific Northwest for generations. The tight growth rings on these logs suggested they'd grown in competitive forest conditions, adding a board foot at a time over many decades. Working with wood like this feels like a responsibility as much as an opportunity.
Step Five: Stickering the Wood for Drying
Fresh-sawn lumber is saturated with moisture — sometimes 60, 70, even 80 percent moisture content by weight. Stack it incorrectly and it will cup, twist, check, and crack as it dries unevenly. Stickering is the process that prevents all of that: small, uniform strips of wood (the "stickers") are placed perpendicular to the boards at regular intervals, creating air channels between each layer so moisture can escape evenly from both faces simultaneously.
We used dry, uniform stickers — consistency matters here, because uneven sticker thickness will telegraph a bow into the boards above. The stack went up on a solid, level base, stickers every 16 inches, each layer aligned vertically above the one below. A good sticker stack is a specific kind of geometry that rewards patience. We weighted the top of the stack with extra material to help keep the top boards flat as they dried.
The rule of thumb for air-drying is one year per inch of thickness — so the 2-inch planks will need roughly two years of patient waiting before they're ready for the shop. It's the most frustrating part of working with green lumber. You do all that work and then you just wait.
But that waiting time isn't wasted. It's when the wood finds its character — when the internal stresses resolve, when the moisture leaves, when the grain becomes what it's going to be. Rushing it in a kiln is an option, but there's something to be said for lumber that dried the way trees have always dried: slowly, in the open air.
Looking Ahead: What This Lumber Becomes
The stack is set, stickered and waiting. The project it's destined for is still in the planning stages — which is exactly the right place to be when you're working with green lumber that needs two years to cure. By the time the wood is ready, the plans will be too.
What struck me most about the day on Camano Island was how direct the whole process felt. There's no middleman between the log in the forest and the plank in the shop. Every decision — which face to open, where to place the cuts, how thick to run the boards — belongs entirely to you. You learn to read the log, to understand what it wants to give you, and to work with that rather than against it.
It's the kind of work that makes you feel like you're actually making something. Which, of course, you are.
Crest & Level provides finish carpentry, fence and gate work, deck repair, and home improvement services across Queen Anne, Magnolia, Fremont, Wallingford, Capitol Hill, and Ballard. Work done right, by the person who actually does it. Schedule a Visit.
Get started
Ready to get started?
Reach out to discuss your project and check availability.