
· By Mark Tindall
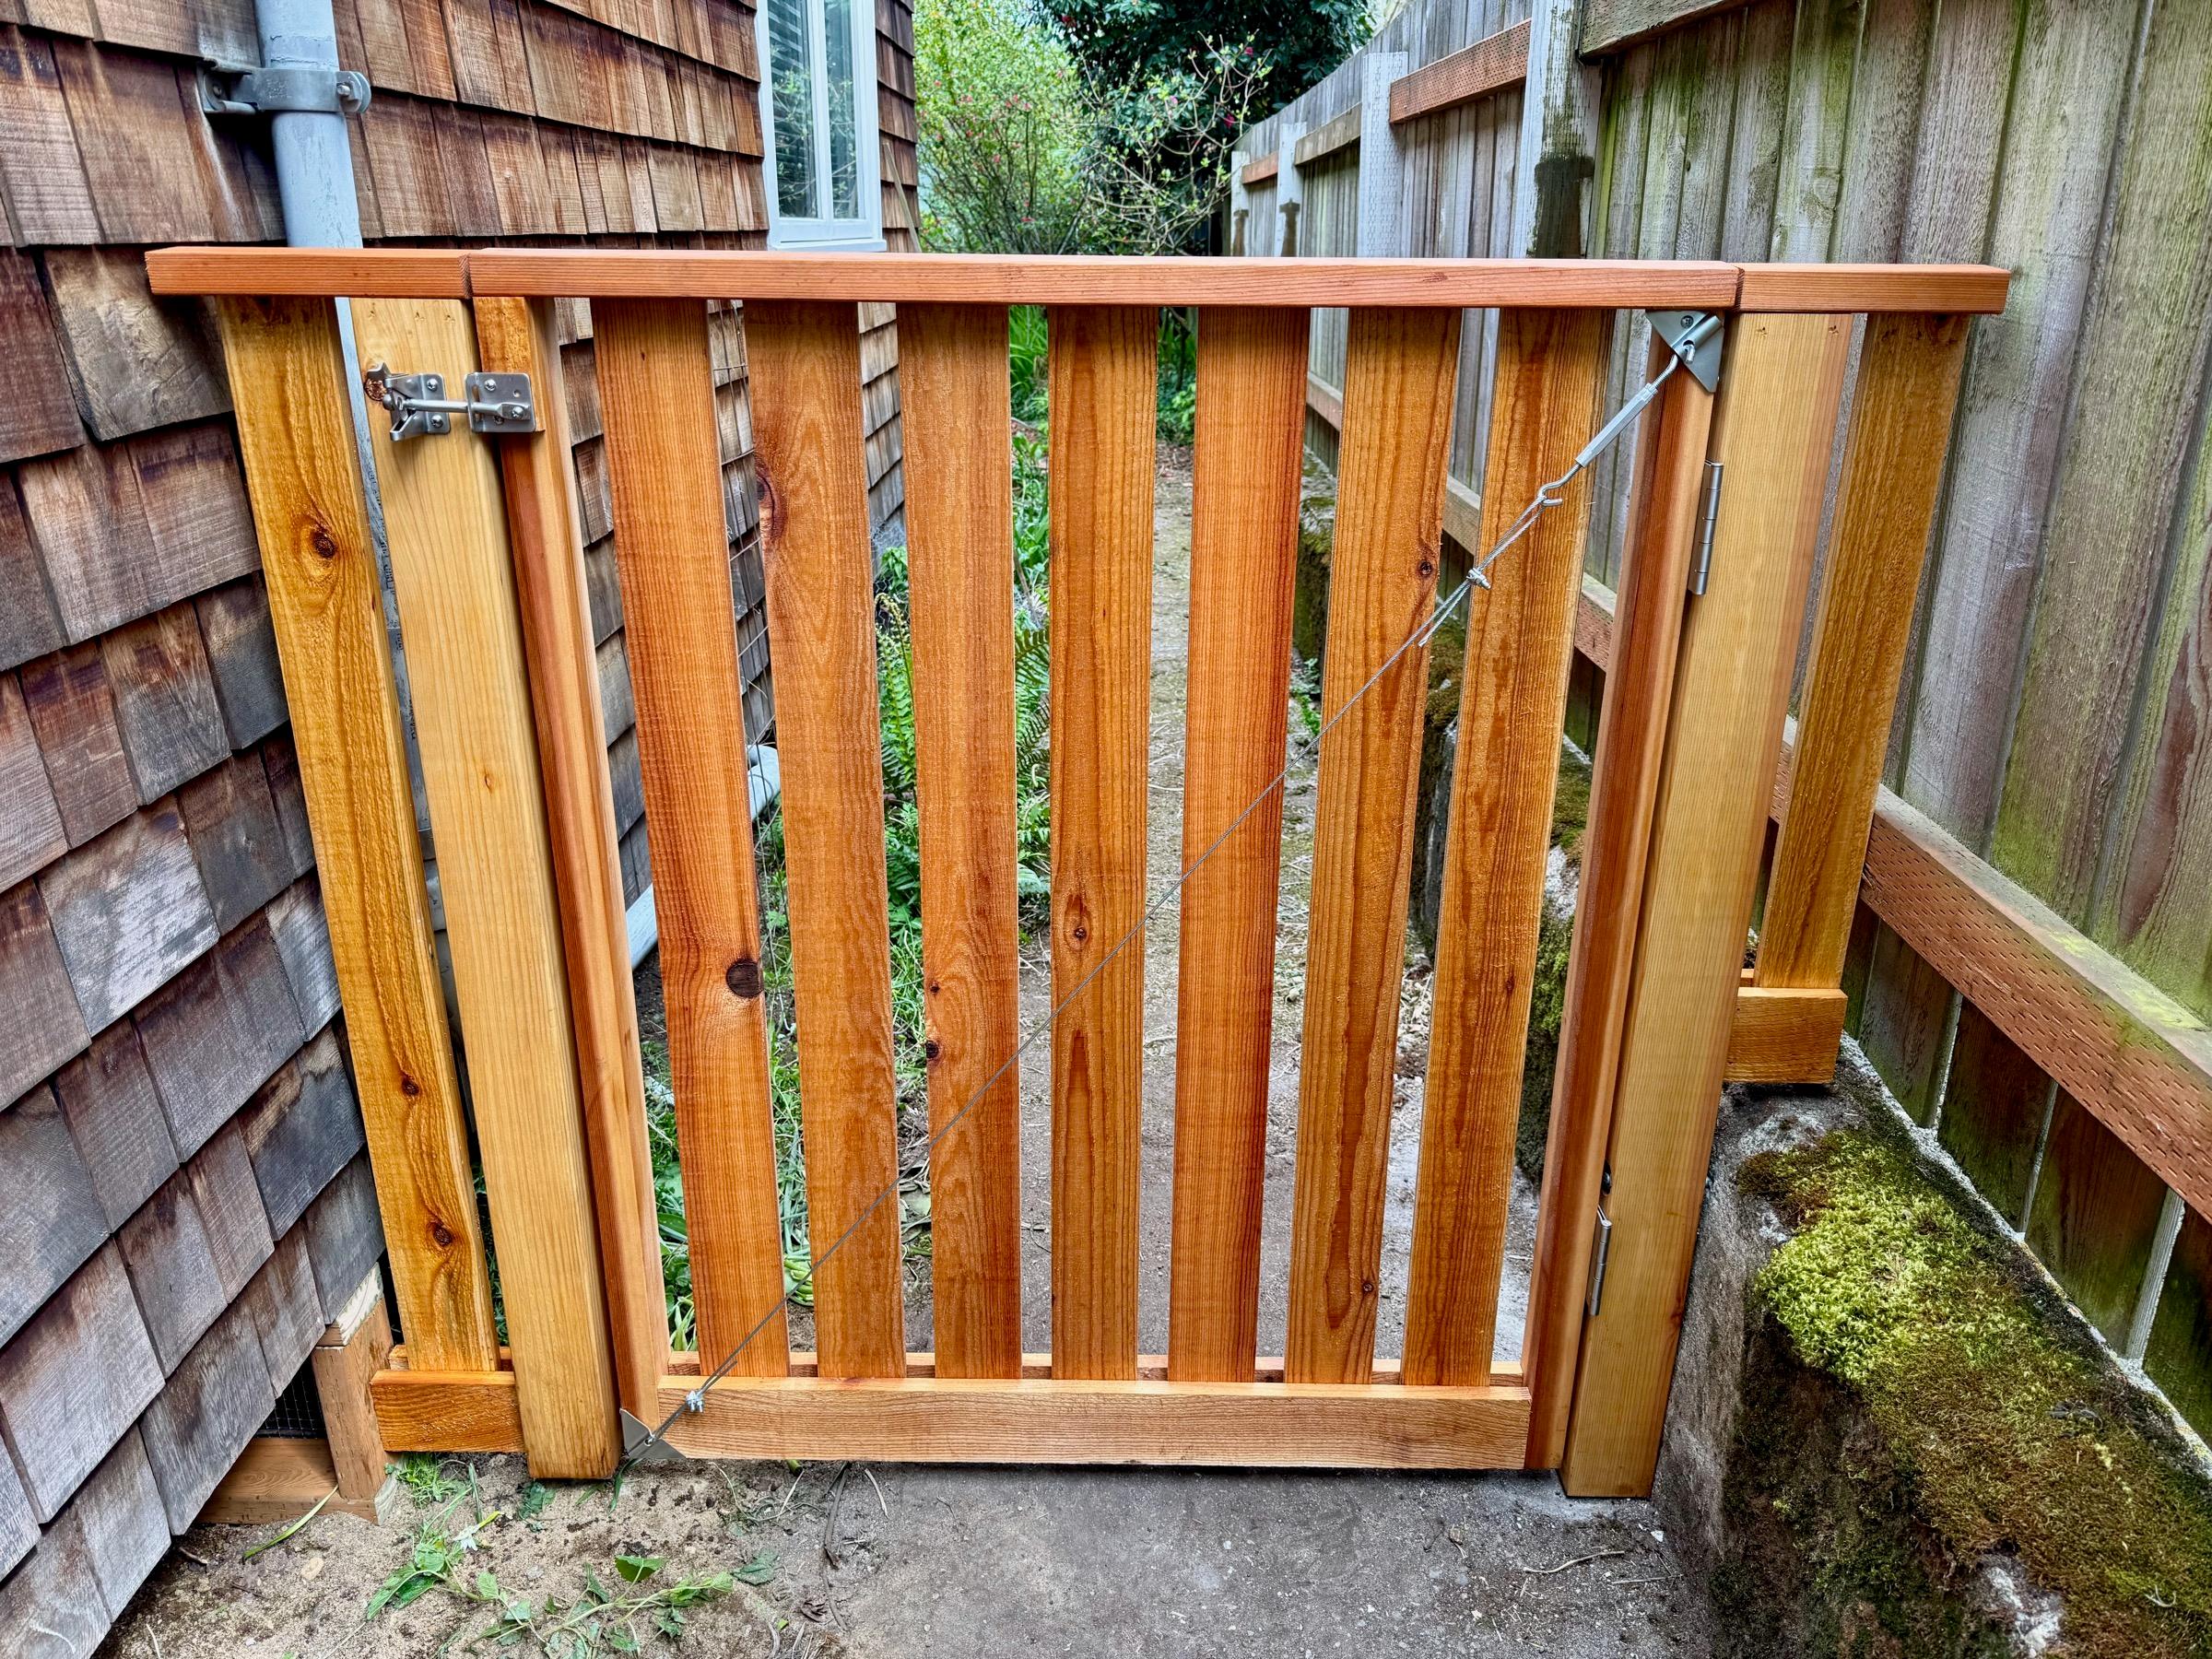
Custom cedar gate anchored to a concrete retaining wall, Queen Anne
The short version
On a Queen Anne house built around 1930, a rotted side gate needed replacing. I built a new cedar gate as wide as the opening allowed, anchored the hinge side to the existing concrete retaining wall, and set the latch-side cedar post on a steel post-on-pipe base so no wood touches the ground. It took three days and needed no permit.
Project facts
- Neighborhood
- Queen Anne
- House built
- Circa 1930
- Service
- Fencing & Decks
- Materials
- Cedar gate and posts, steel post-on-pipe base, steel hinges, diagonal cable brace
- Supplier
- Rain City Fence
- Time on site
- 3 days
- Permit
- Not needed
The problem
The old side gate on this Queen Anne house, built around 1930, had rotted and needed replacing. The goal for the new one was to make the gate opening as wide as possible.
How I did it
Make the opening as wide as possible. A standard gate hangs from its own wood post on each side, and each post eats into the opening. Here the hinge side didn't need a post set in the ground at all, because there was already something solid to hang it from.
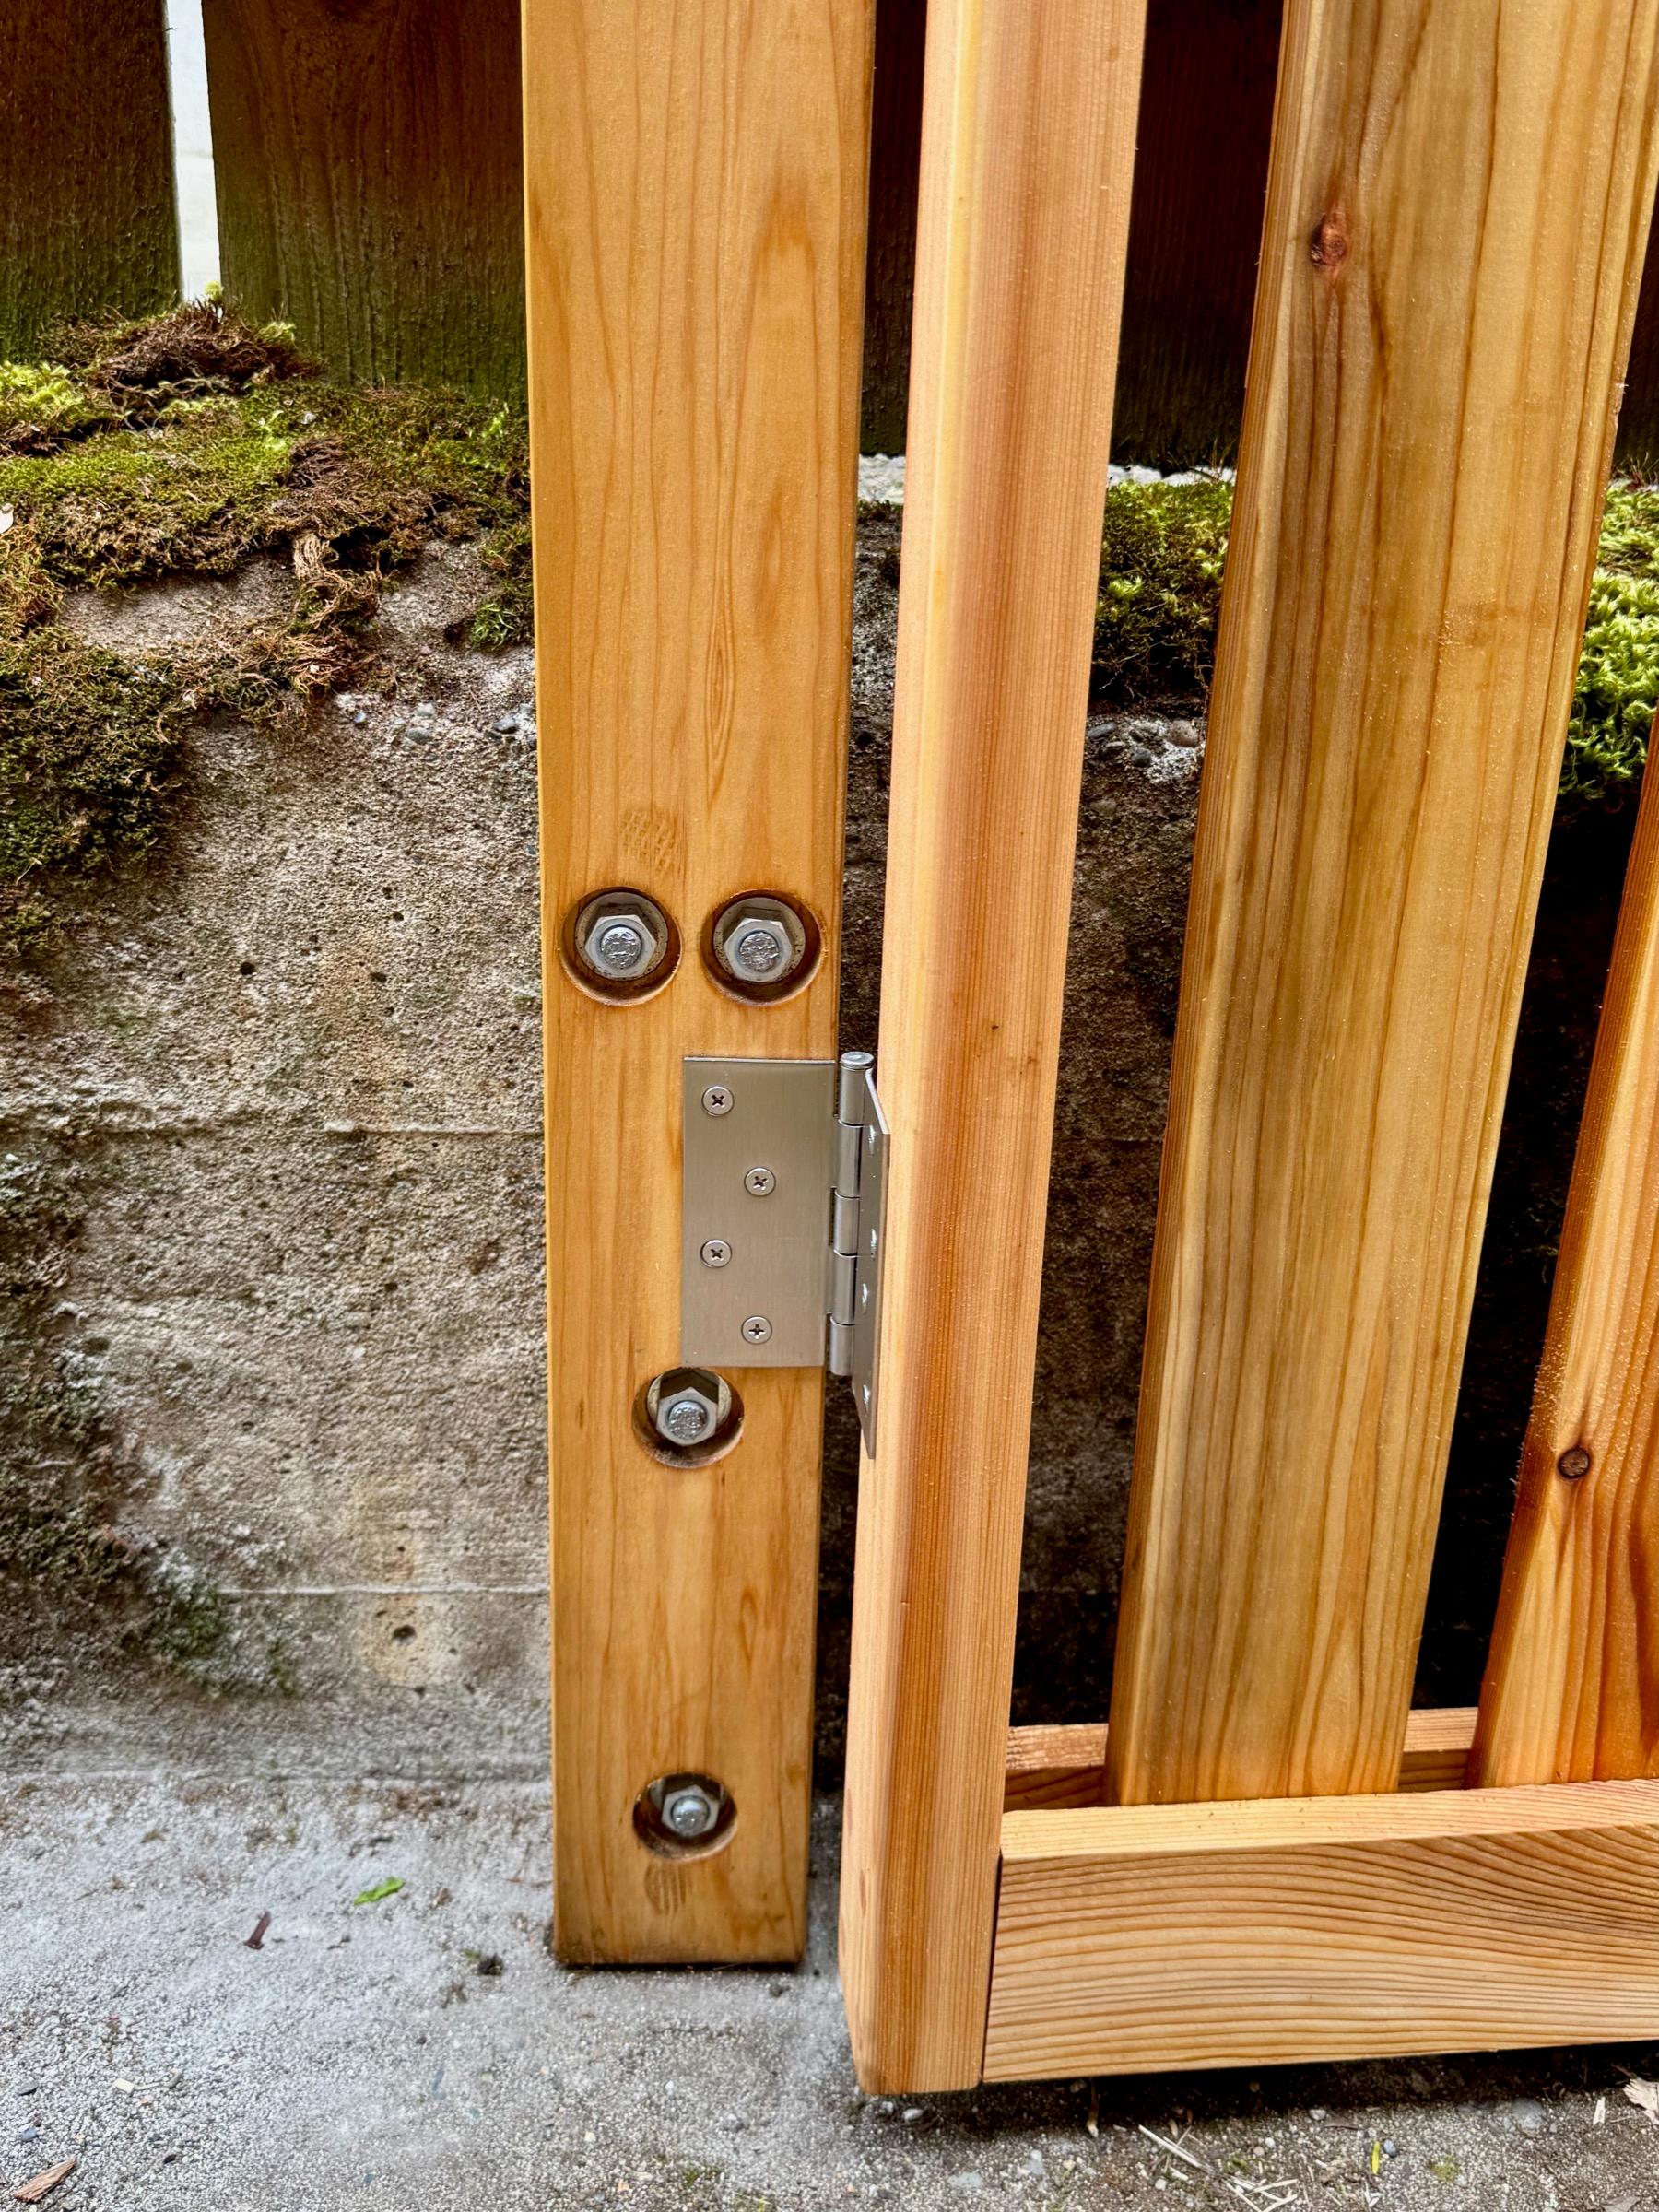
Anchor the hinge side to the concrete wall. The hinge post is bolted straight to the existing concrete retaining wall. That gives the gate a rigid, rot-proof anchor and leaves the full width for the gate itself. A diagonal cable brace keeps the gate square so it won't sag over time.
Keep the latch post out of the dirt. On the latch side, the cedar post sits on a steel post-on-pipe base: a galvanized pipe set in concrete, with the wood post fastened to it above grade. No wood touches the ground. In Seattle's wet winters, wood in direct contact with soil is where fence posts rot first.
Materials and timing
The cedar came from Rain City Fence. The job took three days on site, and it didn't need a permit.
More photos
Related
Get started
Have a project like this?
Call or text and tell me what's going on, or schedule a visit.